The Dressed to impress stamp set should be your go to set for your shoe obsessed/ lipstick loving/ handbag crazy friends ! One of my best friends loves all three things and regularly trades in and exchanges designer handbags. I love a handbag but it doesn’t have to be a designer one for me.
I’m Carrie the boss at The Inky Nook and I’d like to say thank you for joining me today. I don’t want to keep you from seeing the lovely cards I have to share with you so click the link if you want to know more about me.
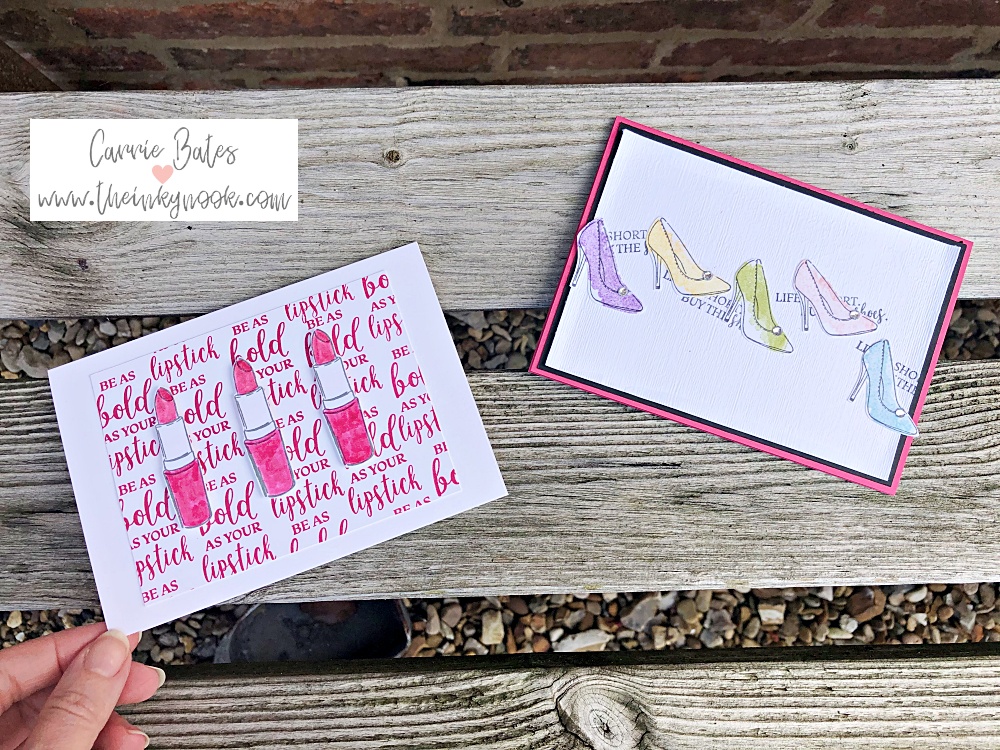
Today I am CASE’ing cards by Tammy Wilson and Lyssa Zoolanek so a big thank you to them for their inspiration. When we talk about CASE’ing this is an acronym for “copy and share everything”. There is no greater reward than someone being inspired to re-create my projects for themselves.
Dressed to impress in your showstopper heels
To create this card I stamped the shoes in memento black ink and then used the longer “splodge” stamp to colour the heels in the various colours. Next the shoes were fussy cut out using my scissor snips which are so precise. Being left handed I can tell you the snips cut brilliantly so make sure they are in your craft kit.
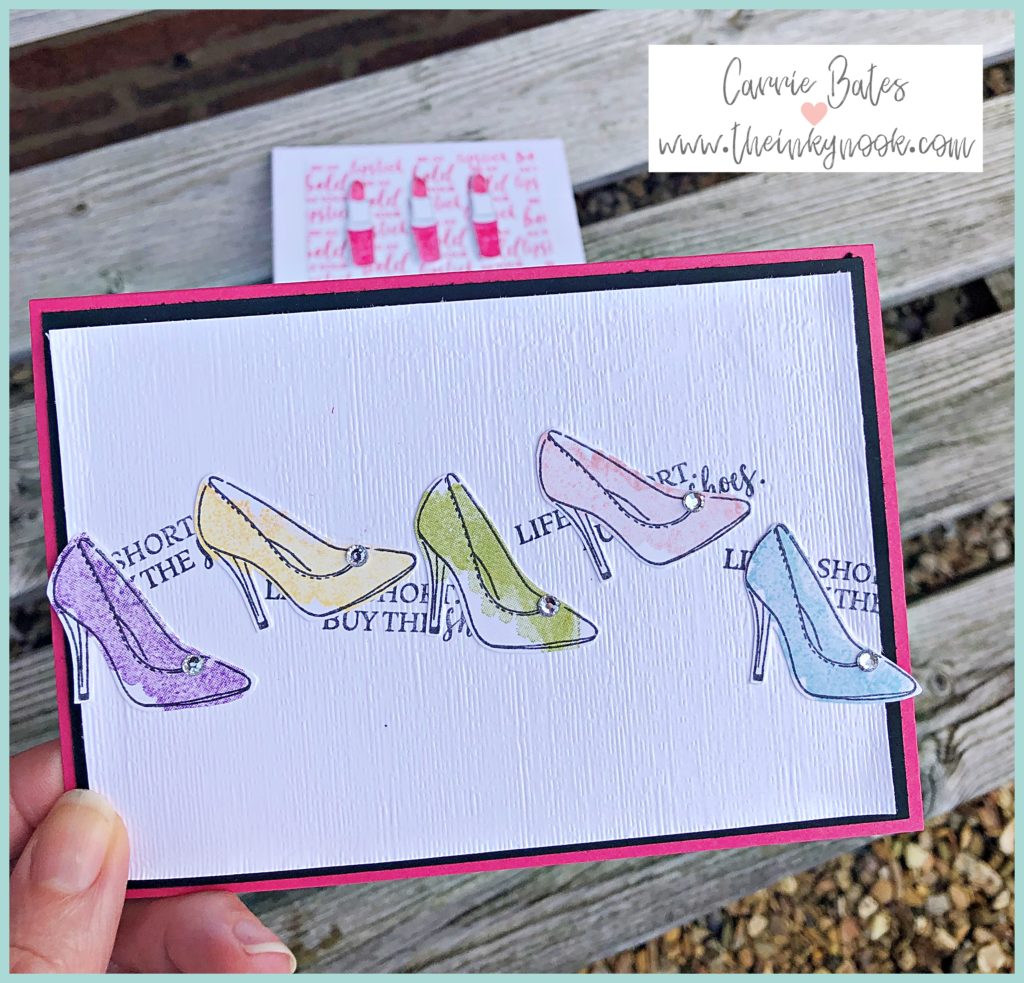
I randomly stamped the “phrase” over the whisper white card layer before embossing it with the subtle 3D folder. This embossing folder gives a very gentle effect over the card so it is slightly uneven. I love it ! This is teamed up with a Melon Mambo card base topped with a basic black card layer. Followed by adding your embossed layer topped with your rainbow collection of shoes. To finish the card off I added some rhinestones to the front of each shoe as it adds a little sparkle.
Dressed to impress with your favourite lipstick
This card could be made with any colour combination but for me today it needed a striking bold bright colour such as Melon Mambo. This card just needs a whisper white card base and layer with some additional card to stamp your lipsticks on to. I stamped the lipsticks with Basic Grey ink and let that dry before colouring the images in. I used a blender pen with ink on a clear block from the ink pad. You could easily use Stampin’ Blends or markers or even the watercolouring pencils and brushes. Once dried I would recomment adding a little wink of stella to the lipstick tip for a soft sparkle.
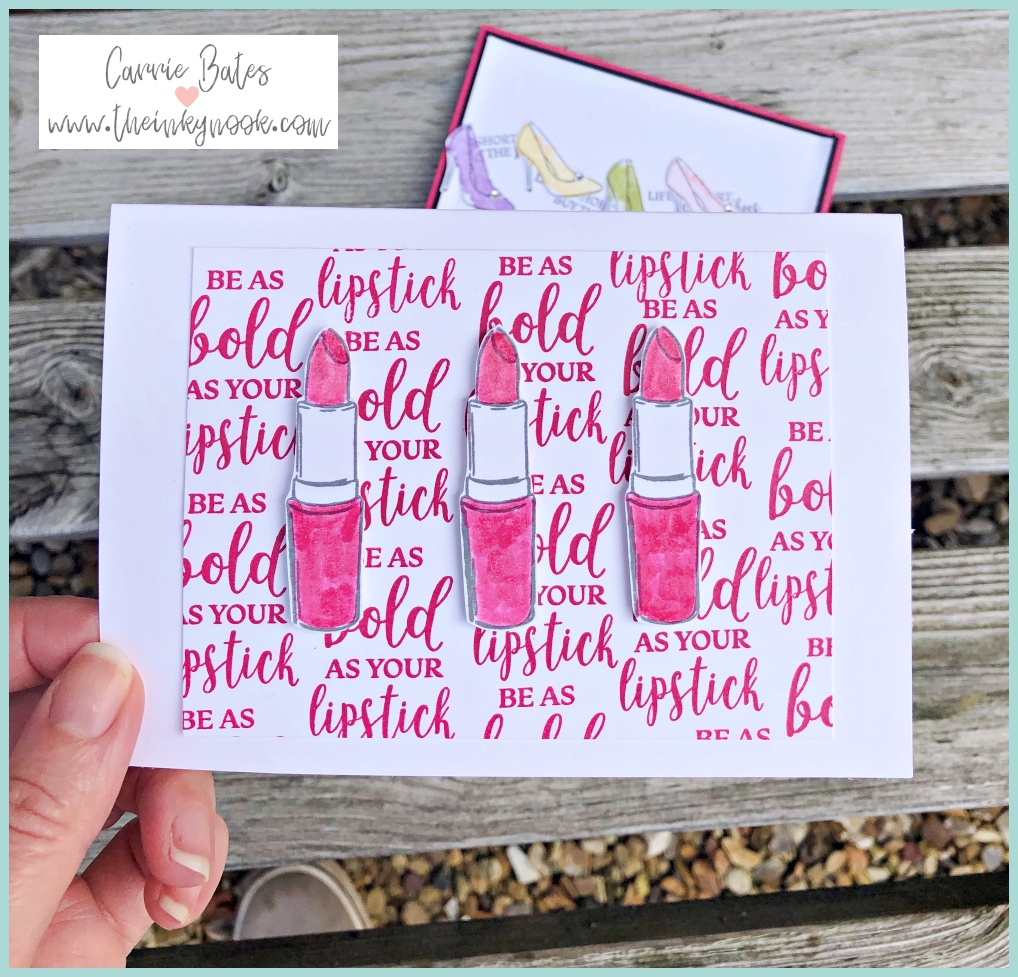
The next step is to randomly stamp the “Be as bold as…” all over your card layer with your chosen ink colour. My top tip would be to make sure you’ve positioned some of the images partially off the card so you don’t see the whole statement. I’m sure you could think of a friend who might need this message to remind her just how amazing she is !
Thank you so much for joining me today and don’t forget to tag me on social media if you have a go. Let me know in the comments below which Stampin’ Up! colour(s) you would choose for your cards.
Until next time…
PS I’ve included the products I’ve used for each card below in case you can’t wait to crafting and get your order placed using the links. You would only need to add you preferred ink pad colour choices if you haven’t already got some. And like handbags and shoes you can never have enough craft supplies !
Dressed to impress product list
