It’s the final week of the Stampin’ Up! designer series paper (DSP) sale up until the 31 October 2020. I am blog hopping with some of the Tantalizing Stampers and today I’m using the Peony Garden designer series papers.

Peony Garden Designer series paper
These papers are all about soft floral designs and the colour scheme is subtle which in Stampin Up’ Colours is petal pink, granite gray and basic gray. You can use them as they are or colour with Stampin’ Blends and with 12 sheets ( 2 each of 6 designs) you have plenty of choice.

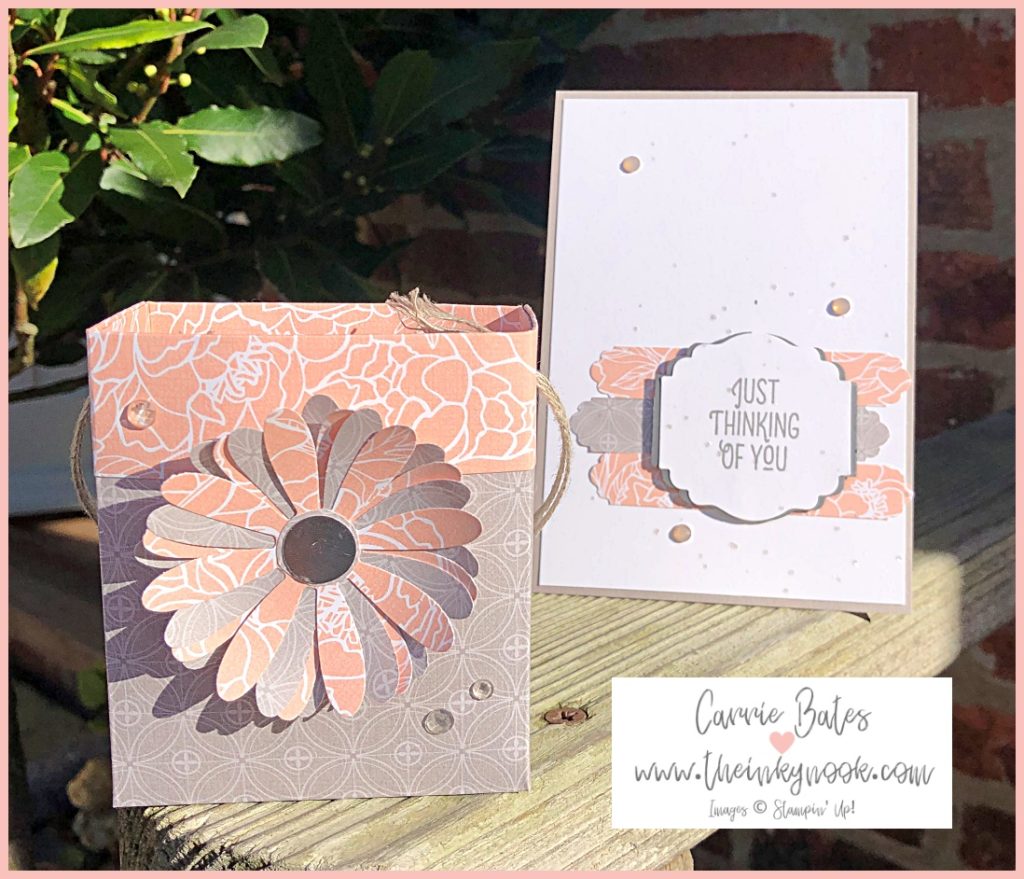
I find the peony flower so pretty and although it’s a larger flower head it has so many intricate layers to it. Their flowers generally only bloom for 1 week so you have to enjoy them as soon as they appear. I decided that the Peony Garden designer series paper are ideal for letting someone know you are thinking about them. Which is why I started with making a little mini gift bag and thought it then needed a co-ordinating card to go with it.
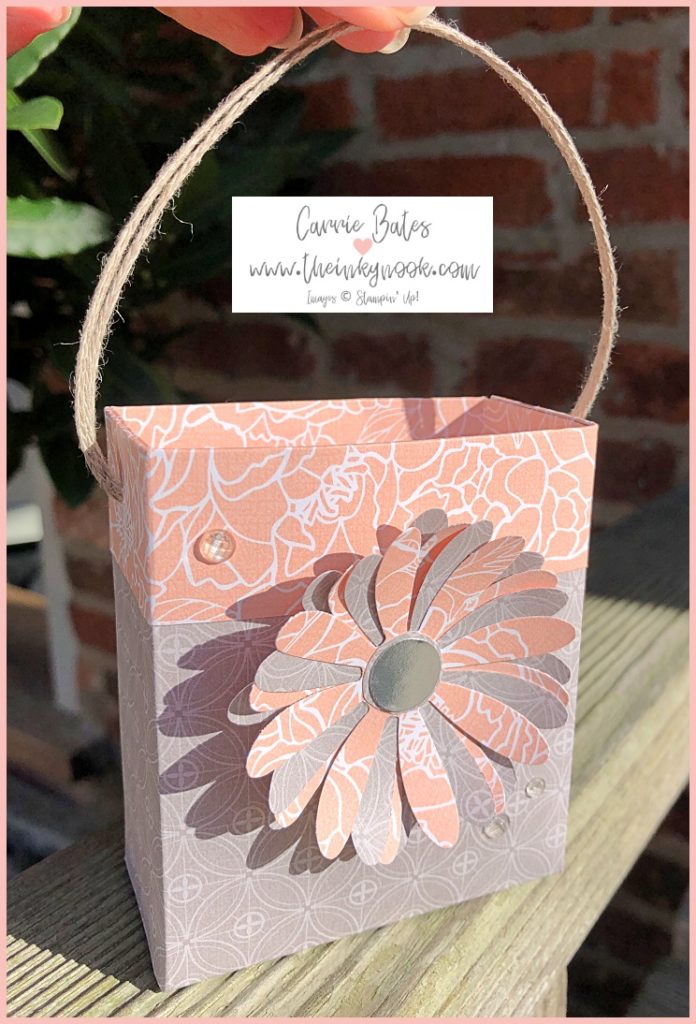
Peony mini gift bag
This bag is so easy to create with a paper trimmer or Simply Scored scoring tool and a few quick cuts before assembly. Taking 2 matching sheets of 6 x 6 designer series paper decide which side should be the dominant facing side. I chose to have the Gray Granite pattern side as my dominant side with the Petal Pink peony paper being the fold over side.

Before starting your scoring, make sure if your DSP has a directional pattern that your 1″ score line is along the top edge. So let’s get started – score the top edge at 1″ then rotate 90 degrees and score at 1.5″. Repeat the 90 degrees rotation and score at 1.5″ on the remaining 2 sides. You will need to do this for both sheets of DSP. Fold over your top edge ready for assembly after the next steps.
Next take 1 sheet and cut off the bottom two corners to the first score lines as this will form the flap to stick to the other sheet. Then take the other sheet and cut along the top edge of the bottom two corners so that you create side flaps. Now you just simply glue the bottom flaps together and then the sides. I would recommend using multipurpose liquid glue as it gives some wiggle time before it dries firmly in place.
You can then decorate the bag further if you like. I added a multilayered daisy flower using the peony DSP and Daisy Punch. This was finished off by creating a handle with two strips of braided linen trim knotted off using two punched holes in either side of the bag. I added a few elegant faceted gems to embellish the front too.
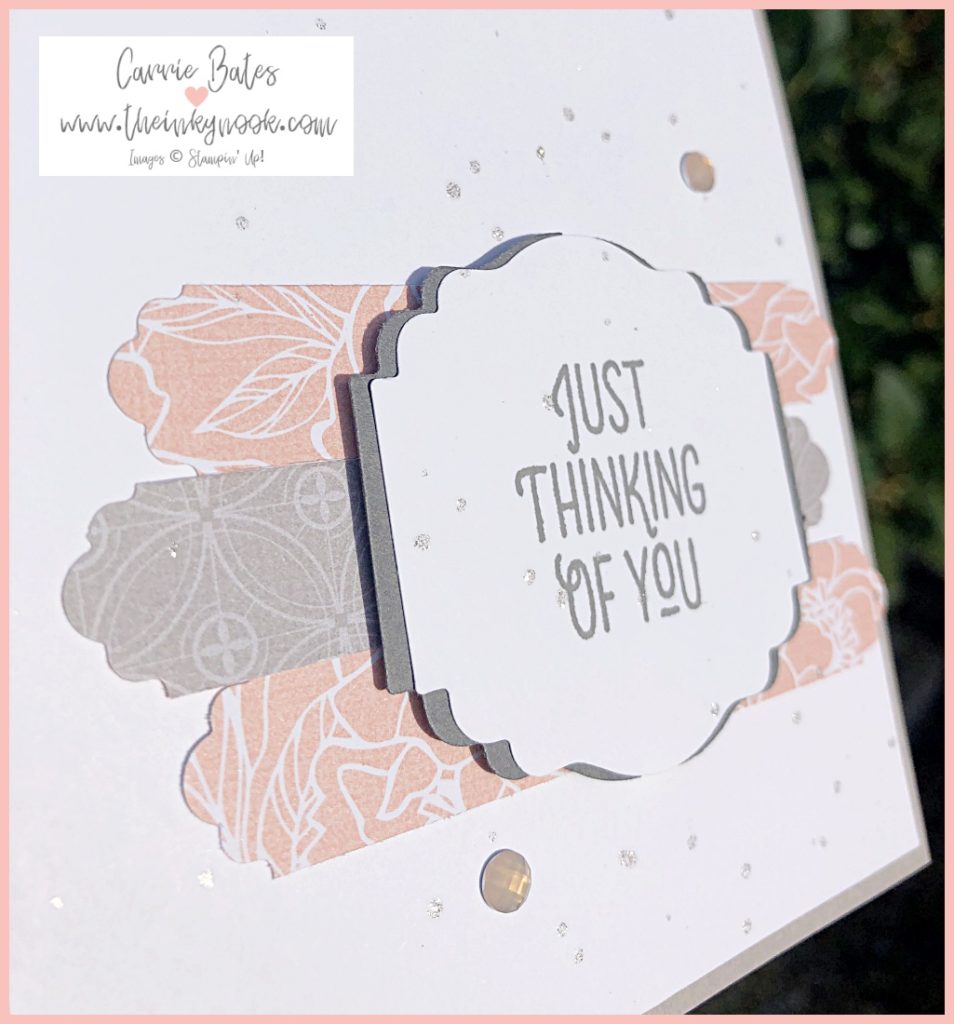
Peony co-ordinating card

The card was quick and simple using a gray granite card base with a white layer. To this I added 3 strips of the DSP punched either end with the Lovely Labels pick a punch. Followed by stamping the ‘just thinking of you’ punched out with the Label Me Lovely punch. To just help the sentiment label pop out further I punched exactly the same label out with Basic Gray to sit behind it. TOP TIP cut the Basic Gray label in half and then glue it behind the sentiment so it hangs out slightly. It’s a great card for showcasing your punches ! To finish off I added some more of the elegant faceted gems.
Who would you send this card too with a little pick me up treat inside the bag? Let me know in the comments below and make sure you hop on to see what the next Tantalizing Stamper has created today. Until next time,

PS Don’t forget that there is only 5 days left to buy selected designer series paper packs in the sale.
Peony gift bag product listPeony card product list


I love this pack of papers. One of my favourites as they are so pretty. Love your card and coordinating bag. This type of bag is so useful for simple gifts or just the right size for husbands to pop in small boxes with shiny treats!! lol.
Ha ha Zoe – I’m not sure my hubby would take the hint if I gave him the bag ready in advance !
Such a lovely treat to give something in a lovely bag like the one you made, accompanied by a cute card with a friendly message. I love the look of both of them, very elegant and a bit chique!
Thanks Annette – they are such pretty feminine papers for me. I’ve even done some colouring on the grey/white ones !