Welcome to this month’s Stamptastic Friends blog hop where the theme is to share on of our favourite Stampin’ Up! tools. I am going to share how I made my Dad’s 80th personalised birthday cards using my mini cut and emboss machine. There is a larger version but I find my mini version gets used so much more and my class attendees love how lightweight and easy to use it is.
Personalised birthday card mkaing steps
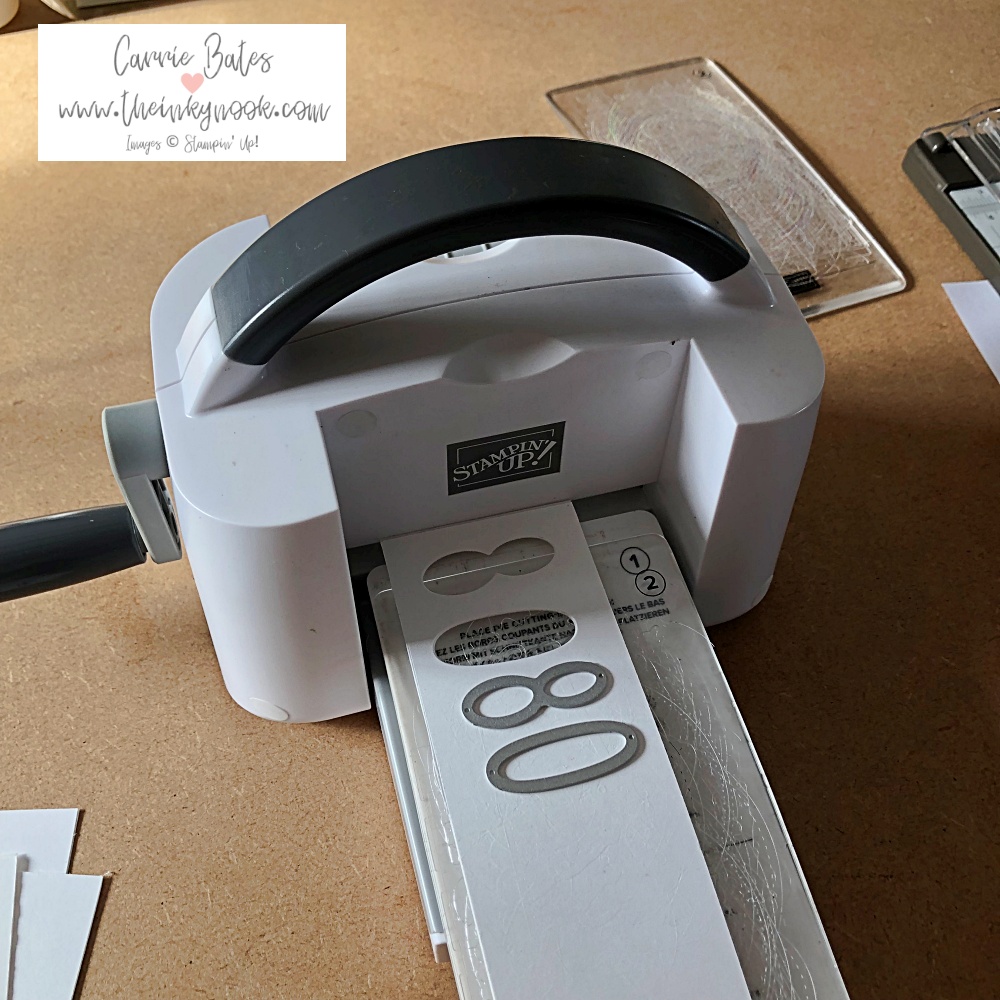
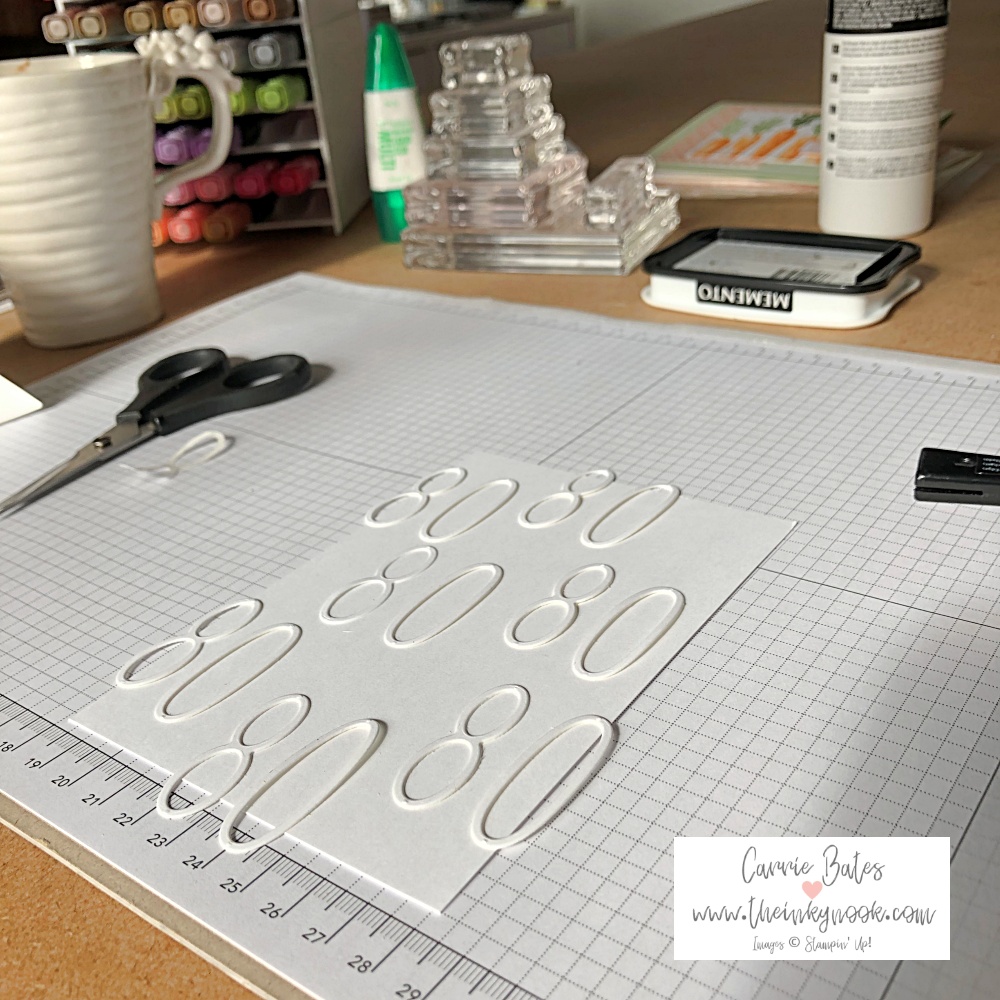
Step 1 – using the Alphabet dies cut out multiple “80”s with your mini cut and emboss machine on white cardstock. These dies work beautifully on the mini machine. A top tip is to stick the adhesive sheets to your cardstock before die cutting the numbers as then they are easy to stick on.
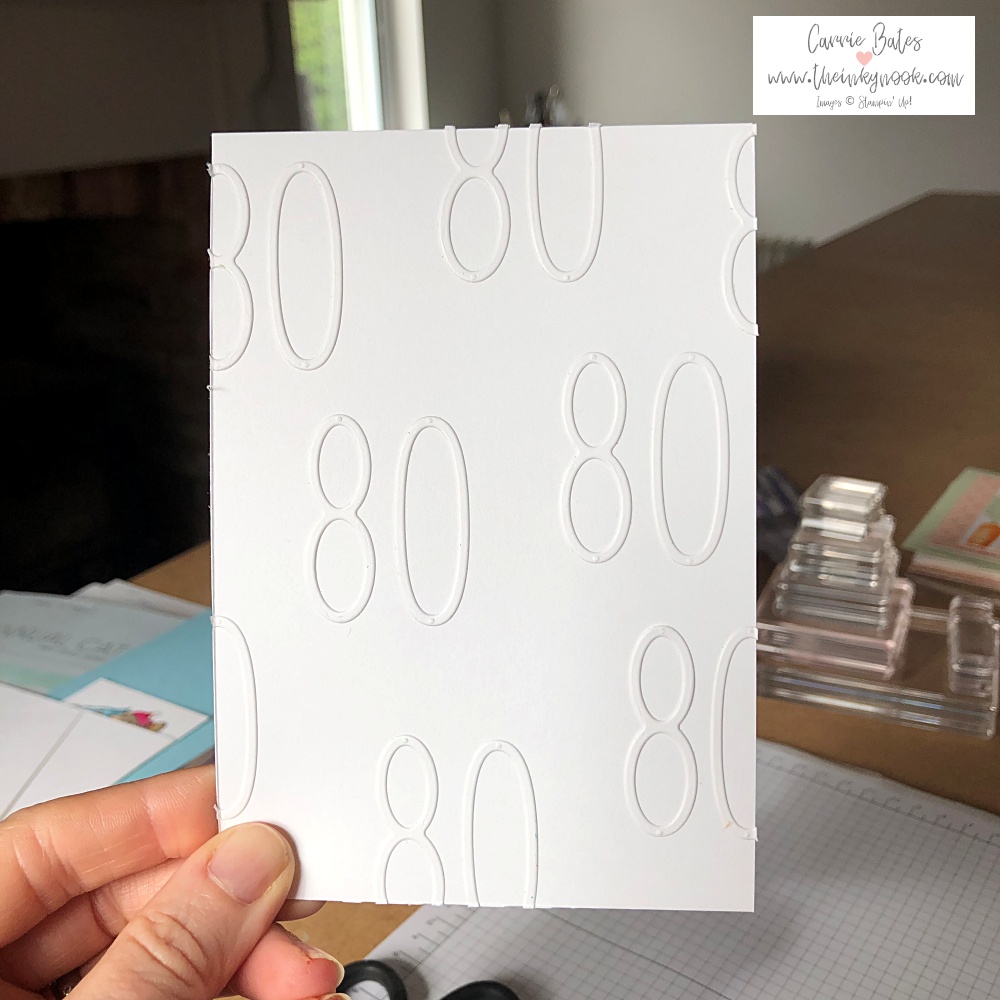
Step 2 – arrange the “80”s on a white card layer and then secure into place. Make sure you place some of them over the edge of the layer and then trim the overlaps off using scissors or your trimmer.
Step 3 – Trim off the overlap letters using scissors or your trimmer and then glue the card layer to your card base.
Step 4 – Taking some night of navy cardstock heat emboss a “happy birthday” greeting in white using a versamark ink pad and a heat tool (another brilliant stamping tool). The white greeting really pops out from the navy cardstock and sets off the card. I die cut the greeting label out with the Stylish Shapes dies.
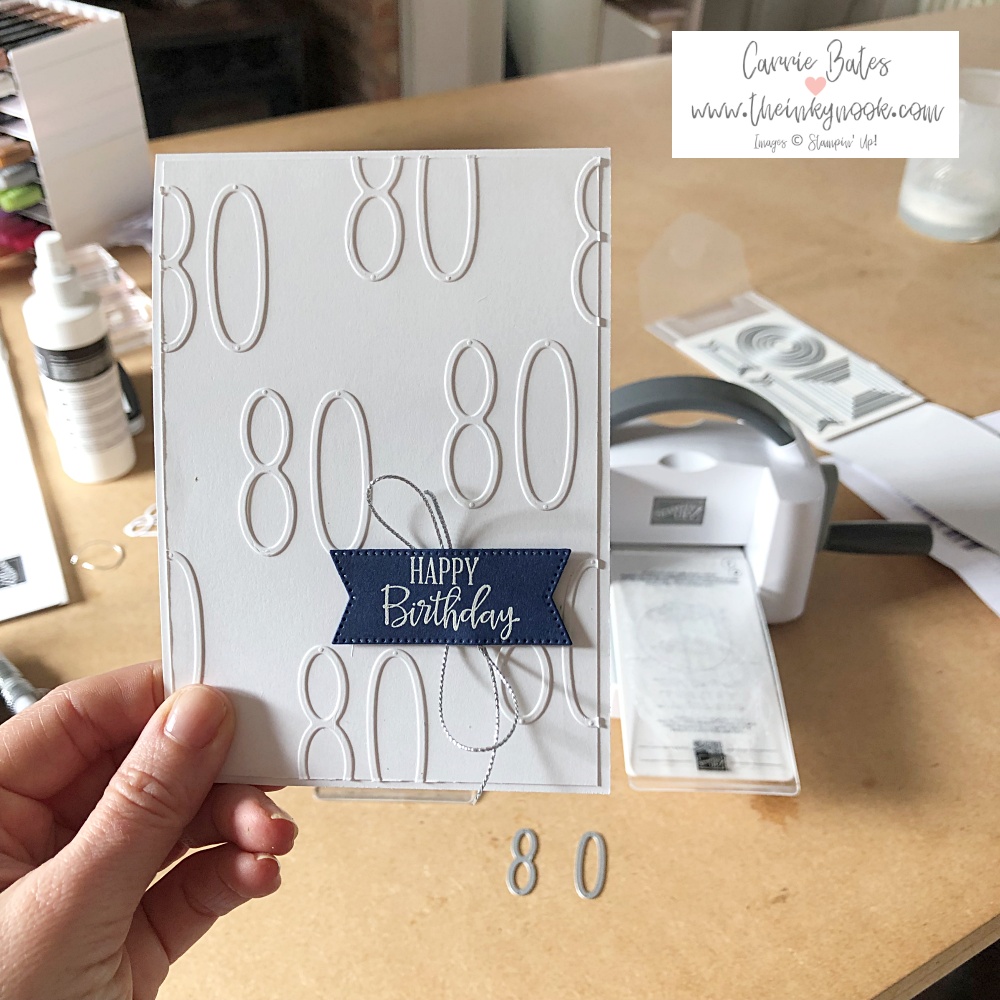
Step 5 – make a bow using some silver thread behind the greeting label and secure to your personalised birthday card with stampin’ dimensionals. I made another personalised for my children to send which I will blog about another day.
The mini cut and emboss machine made making this card so easy to make as imagine having to hand cut those numbers out! The mini machine also folds up to easily fold away for storage purposes. Now please hop around the rest of the hop and see what tools the other ladies have picked to share today.
Inky hugs, Carrie x
Here is a list of the main products I’ve used on today’s personalised birthday card.
Product List