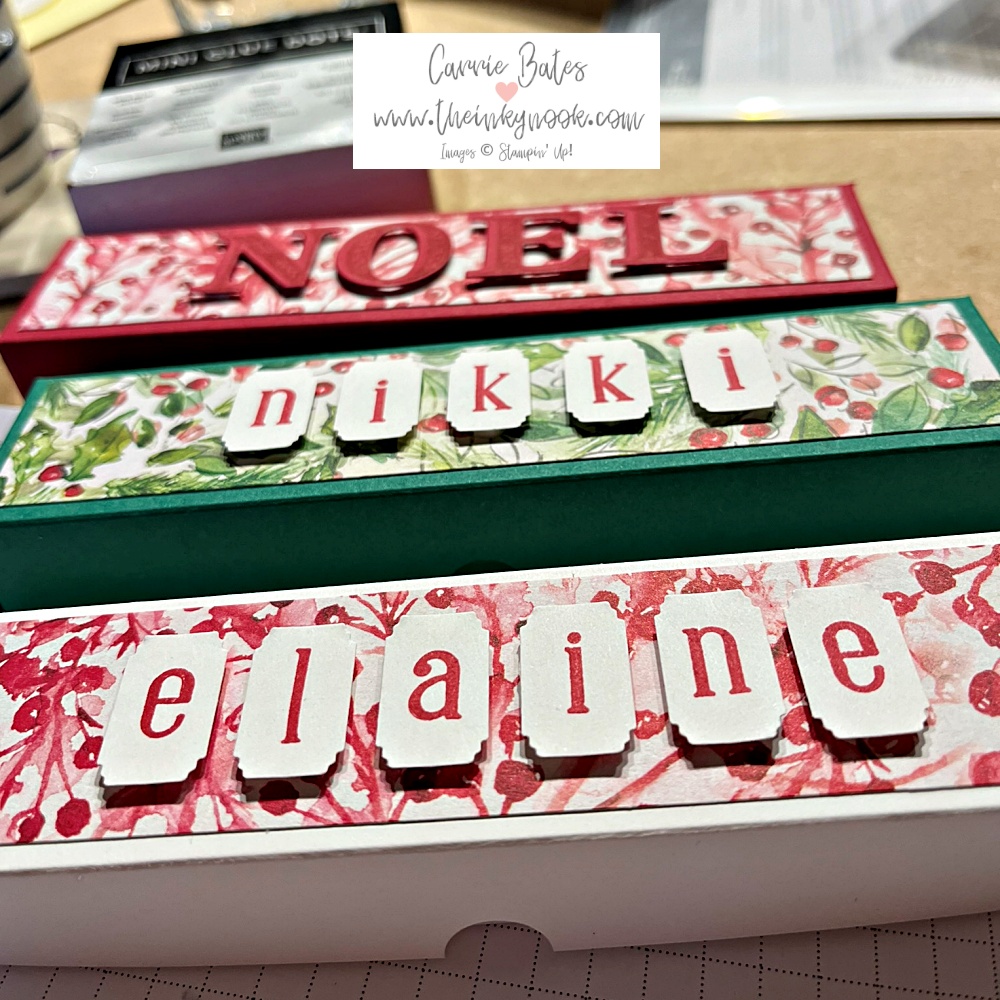
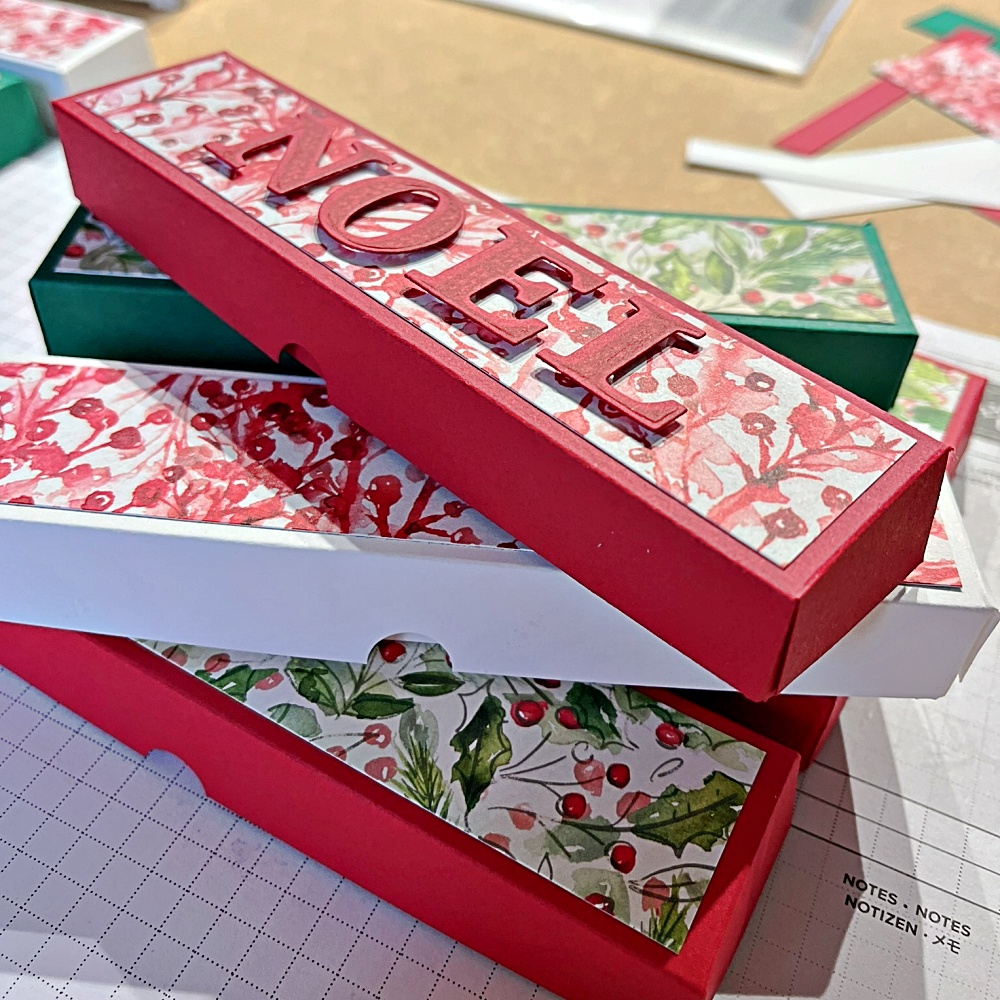
Welcome to the last hop of 2023 for the Stamptastic Friends ! The theme is gift wrapping so I am sharing this personalised tealight holder which my Christmas Craft day ladies got to make. It make a great Secret Santa gift or a last minute gift for someone.
So I am going to share how you can make this personalised tealight holder gift box too. Alternatively, you can decorate the top of the box any way you like if you didn’t want to personalise it. Right, let’s get started.
What do I need to make a personalised tealight holder?
1 piece of cardstock (white, vanilla or coloured) measuring 7.75 ” by 5.25″
1 piece of designer series paper (for the top of the box) measuring 6″ by 1.25″
You will also need a paper trimmer, alphabet stamp set and some glue and anything else you want to use to decorate the tealight holder.
How do I make the project?
- 1 – on the long side score the card at 0.75″ and 7″
- 2 – on the short side score the card at 0.75″, 2.25″, 3″ and 4.5″
- 3 – cut the flaps on each end as shown in the photo below to create the box template.
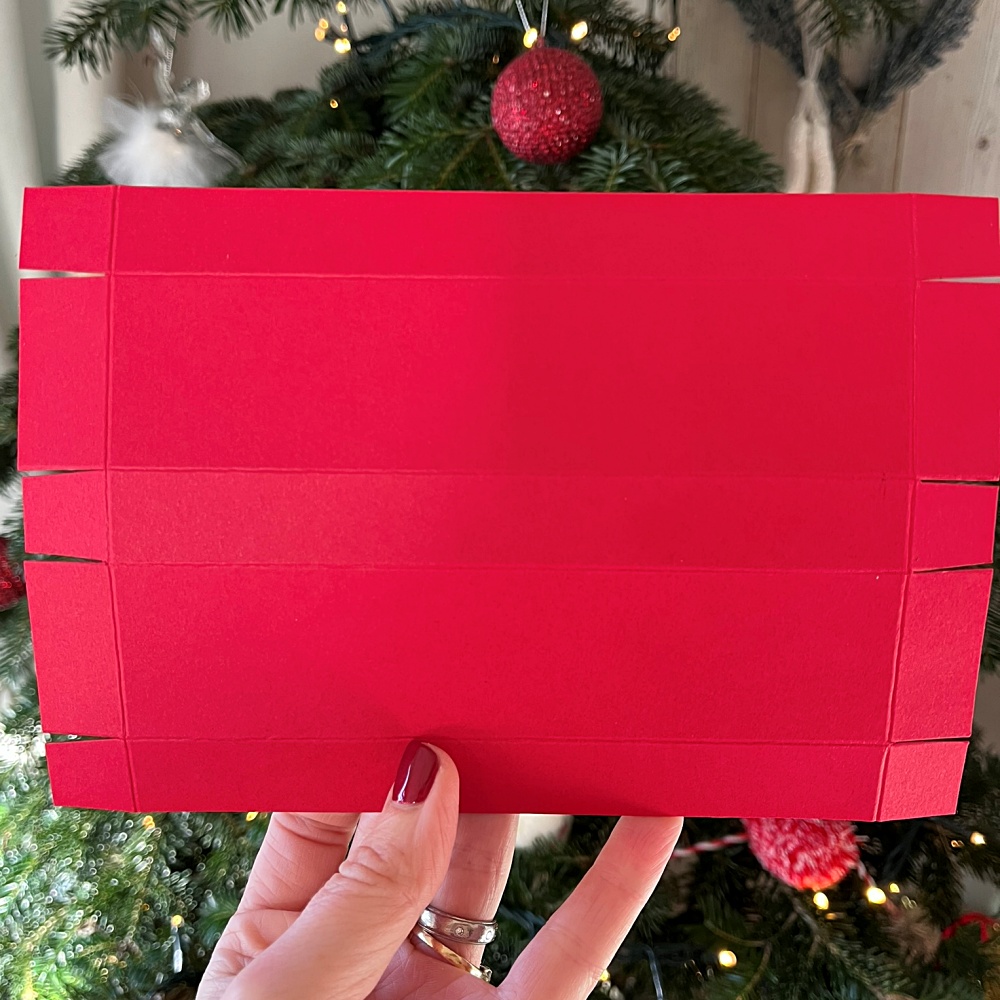
- 4 – glue the smallest flaps inside the longer flap to make your box edges look tidy and starting with the base
- 5 – before securing the lid punch or cut a little semi circle into the outer flap (see below) as this helps you open and close the lid afterwards.
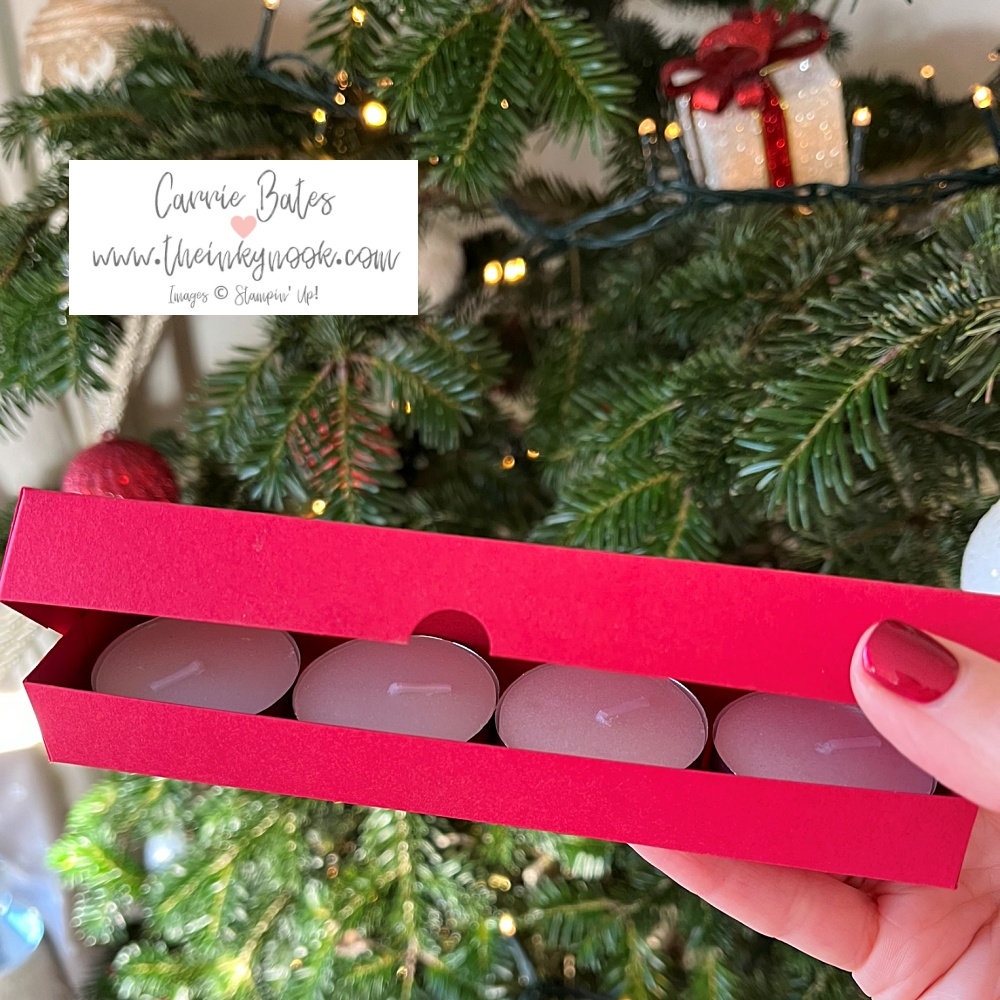
Then glue the lid flaps into place and I would recommend doing this with the lid folded in place to ensure a nice snug fit.
- 6 – use the alphabet stamp set to create the required name and secure on the box lid. I also did one box without a name and just added “NOEL” on top instead. Other suggestions could be some holly leaves or branch die cuts perhaps it really is up to you.
If you’ve got any questions do ask them below or if you have a go at making the personalised tealight holder please tag me @theinkynook
Until next time, inky hugs Carrie x
Product List