Welcome to the May 2024 Stamptastic Friends blog hop where our theme is male/masculine. This has worked perfectly for me as I need to make my son’s birthday card in April so I haven’t shared it until now! April is a busy month for birthday’s in our family including my dad, brother and nephew as well as a couple of friends.
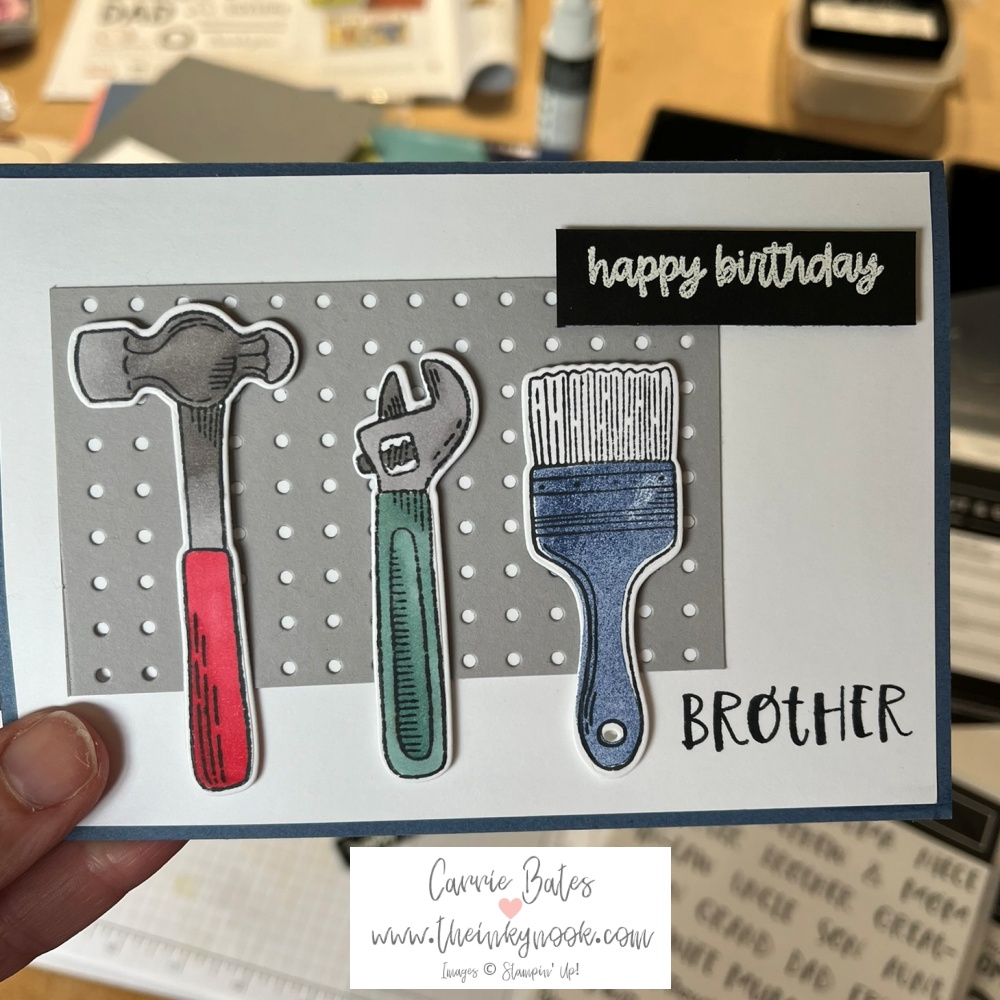
The Trusty Tools stamp set and dies are perfect for those DIY males in your life. The stamp set contains images for a hammer, wrench and paint brush plus the dies give you a spanner, drill and pliers. My dad, hubby and brother are all very hands on in terms of tinkering and fixing stuff.
However, back to how I made my son’s birthday card although I will share another couple of cards I made with this bundle at the end of my blog. Harry (my son) started an electrical engineering apprenticeship after completing his GCSEs last summer. We are so proud of him as he has really stepped up at a young age to start working and do day release at college. He also enjoys that he gets paid too !
Step 1
Make your card base from basic grey cardstock measuring 21cm by 14.9cm and scored at 10.5cm on the long side.
Step 2
Cut a white layer measuring 14.4cm by 10cm for the front and the inside of the card.
Step 3
Stamp your tape measure and colour in the image. The Stampin’ Blends are ideal for this and allow you to create real depth to the image. Next die cut the drill with your chosen card colours along with some screws and washers. Don’t forget the “metal” hanging board from the dies either as this really gives a focal background for the card. Secure these to the card using glue or dimensionsals.
Step 4 – final steps for my son’s birthday card
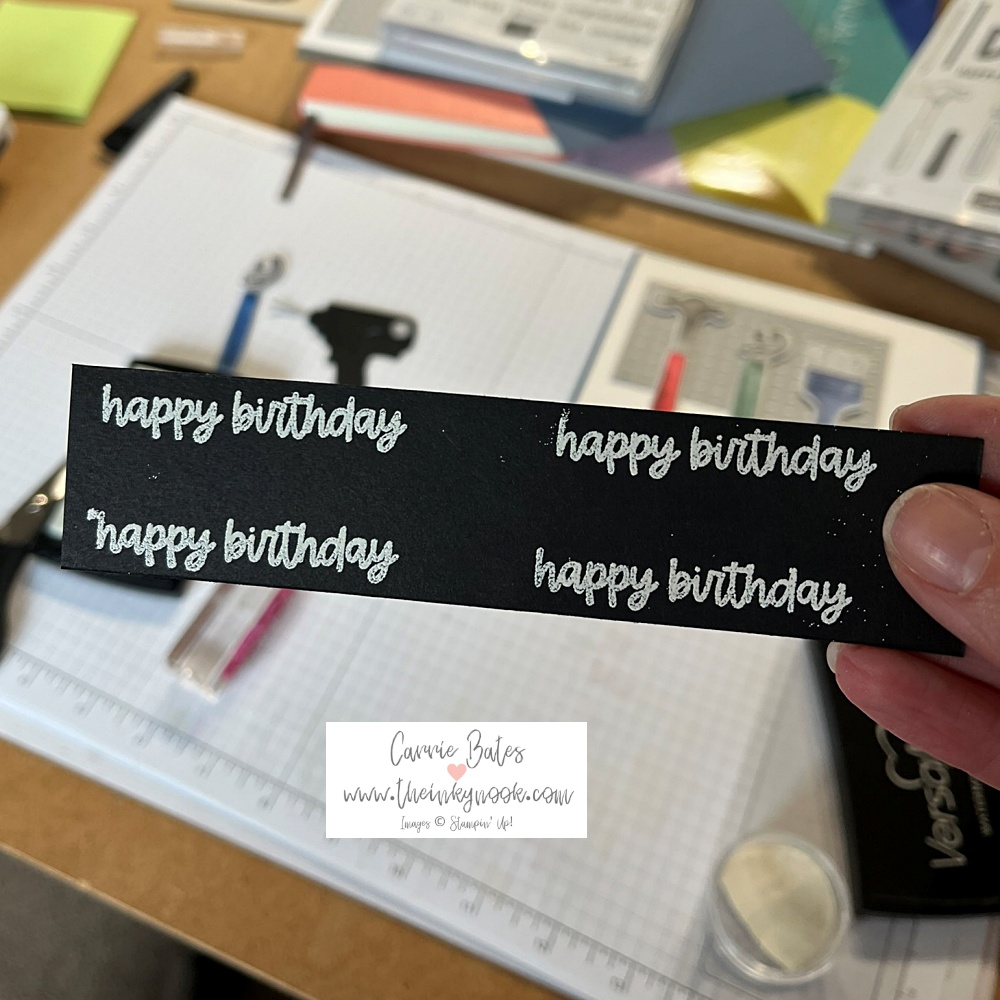
Using the Best Family Ever stamp to add the greeting and “son” images to the card. The “happy birthday” was heat embossed on black cardstock and then trimmed down.
It’s always handy to stamp 3 or 4 of these at the same time so you have ready made greetings for other cards.

So what do you think of my son’s birthday card? Let me know in the comments below and please hop around and see what the other talented ladies have made to share this month too.
Inky hugs for now, Carrie x
Product List")

")


Fabulous card Carrie. Love your shading on the tools x
Thank you 🙂
Spot on. Love the tools and your card.
Thanks Ginny 🙂
These are great cards. That bundle is so useful for anyone who does DIY.
It’s definitely one for the men in your life isn’t it although I think it could be fun to do a girls version too !