It’s that time of month for the Stamptastic Friends blog hop and our theme is 3D items. So I’ve gone for a small treat box made out of designer series paper (DSP) which is the ideal size for a mini hand cream or treat bar.
You’re going to need some DSP measuring at least 6″ by 6″ to make one box plus some other scraps of card, ribbon and DSP to decorate at the end.
So shall we get started?
- Cut a piece of DSP measuring 5.75″ by 4.5″
- On the short side score at 0.75″, 2″, 2.75″ and 4″
- On the long side score at 0.75″, 4.25″ and 5″
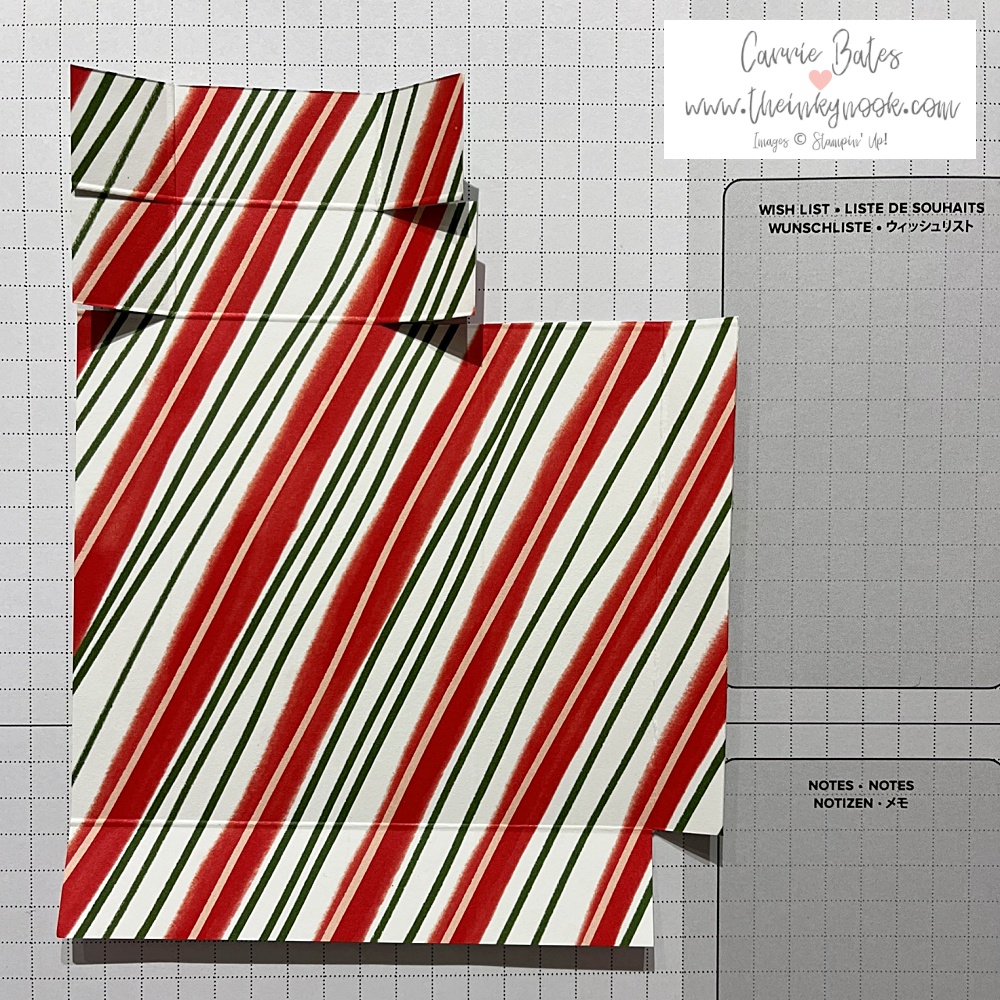
Next using the photo below as a guide we need to make some cuts to create the lid and the bottom of the box,

- Cut out the bottom corner on the skinny flap slide.
- At the top cut out the top 2 sections (see above). Then cut along the remaining horizontal score lines each side to create the small treat box flap.
- Glue the skinny flap inside the opposite edge to create the main box body.
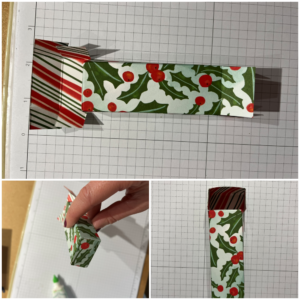
- Now glue the flaps together to create the bottom of the box (see below picture).

Creating the small treat box lid
This is quite straightforward as you just need to glue the two side flaps together as indicated below and then snip on the diaganol. This creates a neat flap over lid for your treat box.

Your small treat box now just needs decorating and filling to finish it off. The finished box measures about 1.25″ by 0.75″ by 3.5″. The Snowy Scenes papers are so pretty so I made another couple of boxes to go with my first one and they barely took any time at all to make. I think I’m going to make some for the ladies at work – who might you make them for? Teacher gifts, friends, local charity volunteers perhaps.
Do hop round and visit the other ladies in the hop as I’m excited to see what they have created today too.
Until next time, inky hugs, Carrie x
Small treat box product list


![Snowy Wonder Bundle (English) [ 164125 ] Snowy Wonder Bundle (English) [ 164125 ]](https://assets1.tamsnetwork.com/images/EC042017NF/164125s.jpg)
![Snowy Scenes 12" X 12" (30.5 X 30.5 Cm) Designer Series Paper [ 164333 ] Snowy Scenes 12" X 12" (30.5 X 30.5 Cm) Designer Series Paper [ 164333 ]](https://assets1.tamsnetwork.com/images/EC042017NF/164333s.jpg)
![Basic White A4 Cardstock [ 159228 ] Basic White A4 Cardstock [ 159228 ]](https://assets1.tamsnetwork.com/images/EC042017NF/159228s.jpg)
![Paper Trimmer [ 152392 ] Paper Trimmer [ 152392 ]](https://assets1.tamsnetwork.com/images/EC042017NF/152392s.jpg)


![Pool Party 5/8" (1.6 Cm) Pompom Ribbon [ 164129 ] Pool Party 5/8" (1.6 Cm) Pompom Ribbon [ 164129 ]](https://assets1.tamsnetwork.com/images/EC042017NF/164129s.jpg)
Lovely cute box. I love little boxes for those small thank you gifts at Christmas.
Thanks Leighsa – it’s always fun to have a go at making some cute treat packaging 🙂
Thank you for sharing. I love it. I shall have a go at making some.
Thanks Fiona – I hope you have fun making them too x
Thank you for sharing. I love it.
Thanks Fiona !