Whilst browsing Pinterest last weekend I found a cute notecard holder on Amy Colling’s blog. This is such a quick and easy project which looks so special. Shall we get started and I can show you how to make a notecard holder.
Step 1 – materials required
For this notecard project the basics you will need are: 2 sheets of A4 cardstock in co-ordinating colours. My project uses Smoky Slate and Mint Macaron but for colour inspiration see the full Stampin’ Up! colour range. Don’t forget 5 card bases and envelopes for which I am using white notecards and envelopes.
Optional extras include 1 sheet of coloured cardstock for framing the front cover for which I selected Mint Macaron again. Plus some white cardstock for layers and front cover decoration along with ribbon to tie the album together.
Step 2 – create the notecard holder cover
The paper trimmer is such a useful tool for 3D projects such as when you want to make a notecard holder. I selected Smoky Slate for my cover and cut this down to 7″ by 11″. Next you must score this at 5″ and 6″ and double check you have the scorer and not the blade. We’ve all been annoyed when we accidentally cut instead of scoring !
Step 3 – make the inside pockets
We will be creating 2 pockets to glue to the the inside of our cover and I am using Mint Macaron cardstock for mine. Pocket 1 will hold our cards and pocket 2 will hold our envelopes.
Pocket 1 needs a piece of cardstock cut to 6.75″ by 5″ and then score 3 sides at 0.5″ and 1″. For pocket 2 cut a piece of cardstock to 5.75″ by 4.5″ and now score this on 3 sides at 0.25″ and 0.5″. In the two corners of each pocket where the score lines cross over cut out the corners. I find creasing the folds with a bone folder helps get neater edges for your 3D projects.
Using double sided tape I stuck the pockets to the inside cover of my notecard holder. I also added a stamped layer onto the inside pockets.

Step 4 front cover
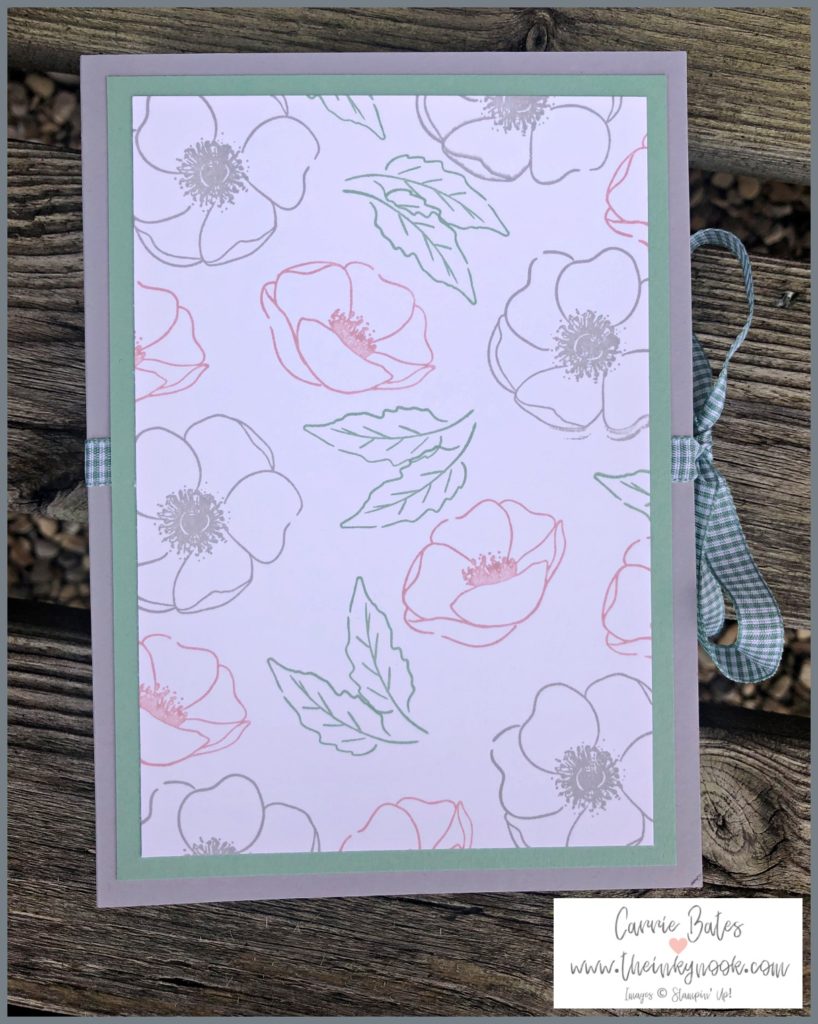
You can choose how you wish to decorate your cover but if you wish to recreate something like mine. Firstly cut a piece of Mint Macaron measuring 4 5/8″ by 6 5/8″. Next cut a white card layer measuring 4 3/16″ by 6 3/16″and stamp randomly all over this with the Painted Poppies stamp set. I am using the same colour ink pads as cardstock plus Rococo Rose. Glue your stamped layer to your Mint Macaron layer
Before gluing the front cover into place don’t forget to line your ribbon up equally underneath. My project uses approximately 70cm of ribbon as I wanted a medium sized bow. I think the Mint Macaron gingham ribbon just adds the finishing touches to this project.
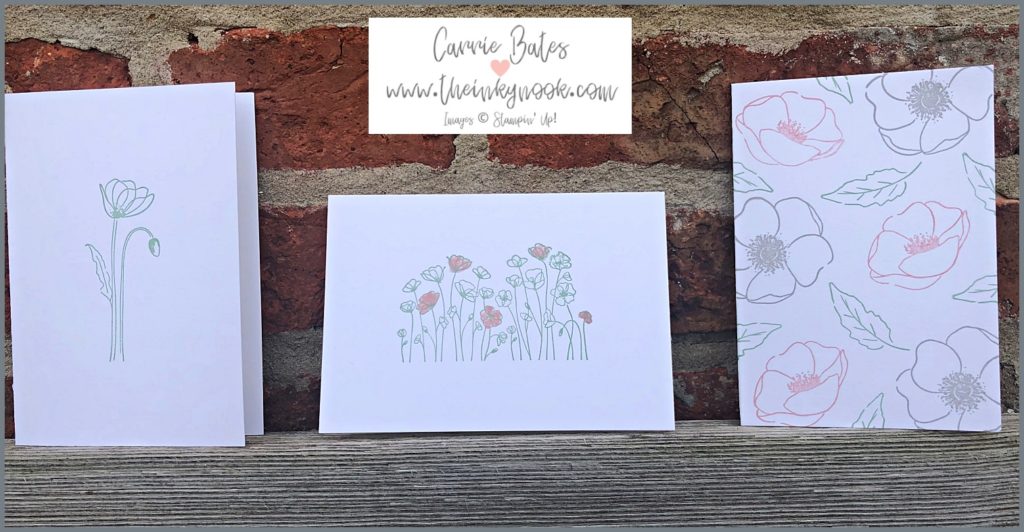
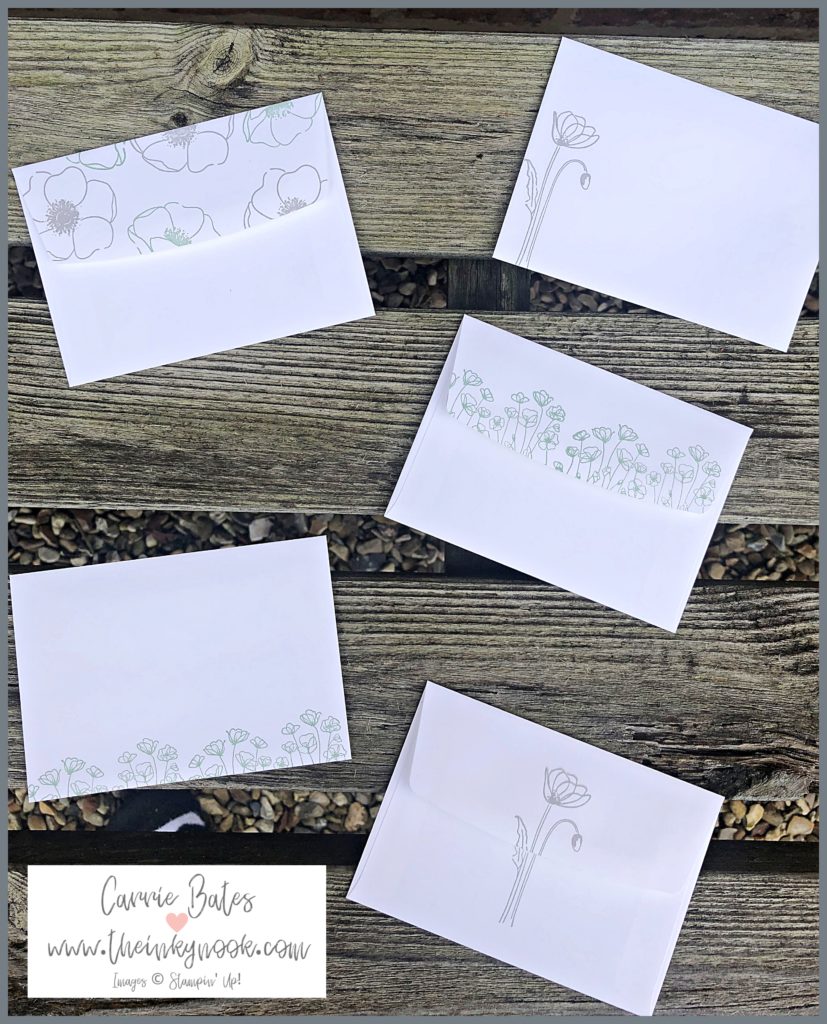
Now doesn’t it look lovely and just needs your cards and envelopes popped inside to finish this project off. My notecards are stamped with the same 3 ink colours and stamp set to keep them simple and co-ordinated. I couldn’t resist decorating the envelopes too – what do you think?
Thank you so much for joining me today and I hope you will let me know what you think in the comments below. If you like this tutorial check out some of my other papercrafting tutorials here Until next time,