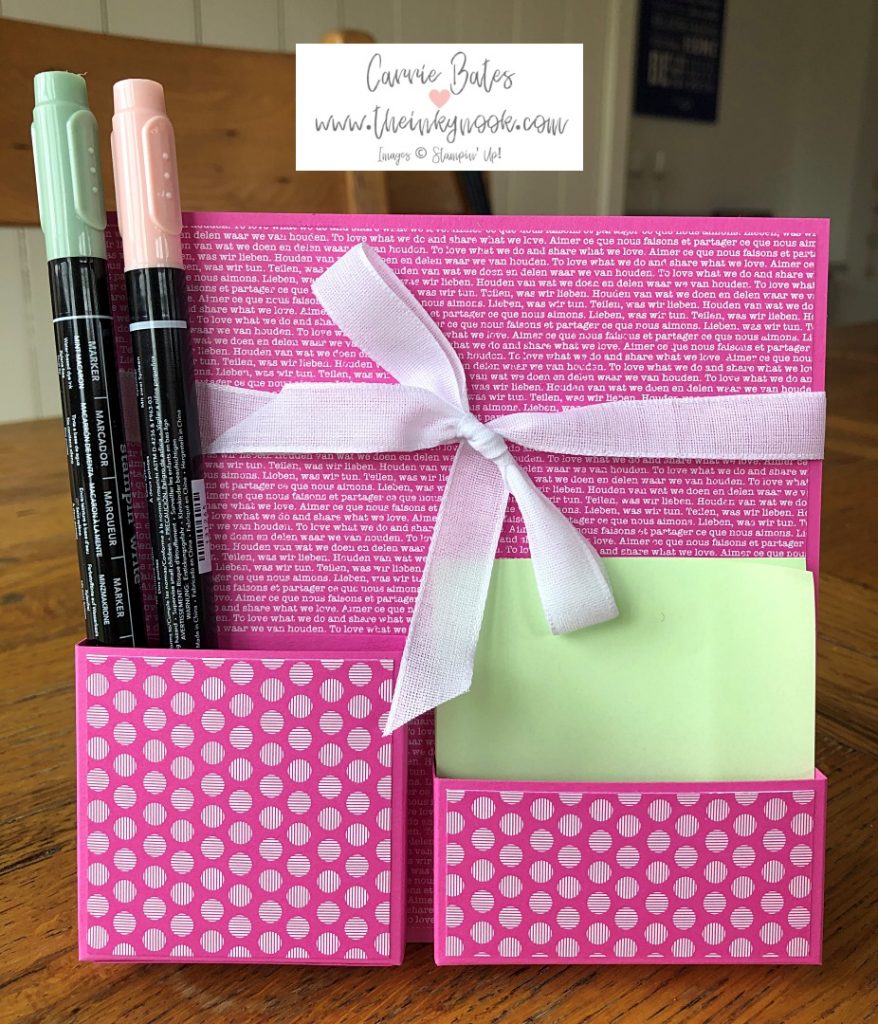
I can not wait to share this easy to make mini stationery holder tutorial and this will look pretty on your desk. Plus once your work colleagues see these they will want you to make one for them too ! This is perfectly sized to hold a pack of regular post it notes and some pens and a small ruler. You could adapt the pockets to be a little bigger but you need to consider if the base would still be stable with heavier items.
Let’s get started – what materials are required?
For this project you will need some coloured cardstock and some co-ordinating designer series paper plus ribbon. To do the cutting and scoring you will need a paper trimmer along with your chosen adhesive. I switched between multipurpose liquid glue and tear and tape. I am going to share the step by step instructions below but there is also a video from my facebook live below which you watch to see how the holder comes together before you start if you prefer.
Cut and score your cardstock
Step 1 – cut a piece of coloured cardstock measuring 28cm by 15.2cm. Score along the 28cm side at 1.3cm,8.9cm,10.8cm and 12.7cm.
Step 2 – cut a piece of coloured cardstock measuring 16.5cm by 7.5cm. Score along the 16.5cm side at 6.3cm,7.6cm,14cm and 15.2cm. Next score along the 7.5cm side at 1.3cm then create the box flaps by trimming up to the 1.3cm score line along the 16.5cm side score lines. Don’t glue it together until you have added your designer series paper.
Step 3 – cut a piece of coloured cardstock measuring 19cm by 5cm. Score along the 19cm side at 7.6cm, 8.9cm, 16.5cm and 17.8cm. Next score along the 5cm side at 1.3cm then create the box flaps by trimming up to the 1.3cm score line along the 19cm side score lines. Again, don’t glue it together until you have added your designer series paper.
Add your designer series paper
Step 4 – cut 3 pieces of designer series paper using your paper trimmer measuring: 14.6cm x 14.6cm, 5.9cm x 5.9cm and 7.1cm x 3.3cm. These will glue to the top front of your holder stand (step 1) and the front of your 2 little pocket boxes (steps 2 and 3)
Step 5 – cut a piece of designer series paper measuring 14.6cm by 7cm this will hide the ribbon at the back of the holder if you choose to use ribbon. Even if you don’t it just adds a little bit of interest to the back of the holder on your desk.
Assemble the holder
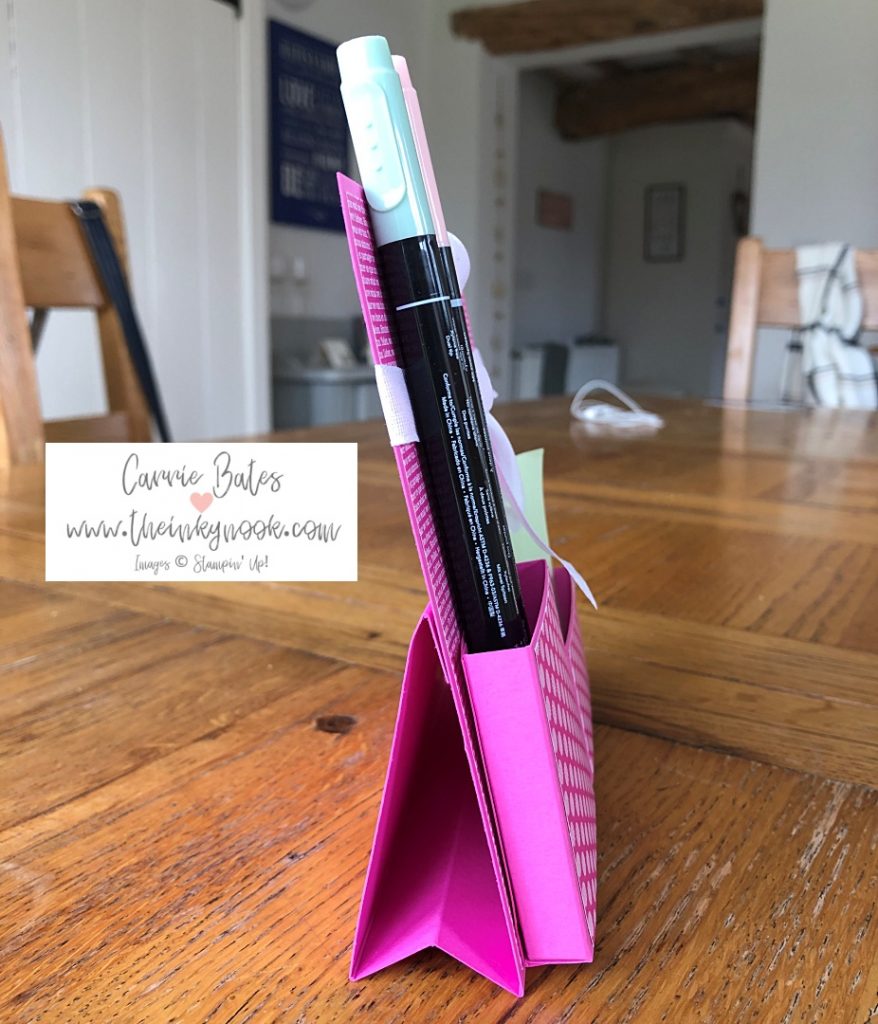
Take the cardstock created in step 1 above and make the concertina fold to create your base and glue the top flap to the main cover. See the picture below which shows how the main base holder should look from the side view.
Next just glue the tabs on your pockets and then stick them both to the base holder. Finally tie the bow if you haven’t already done so and you are using ribbon. Then just add your stationery and position on your desk.
Video tutorial
This is the video I mentioned earlier and if you want to skip along to 3 minutes approx this is where you can see begin to start cutting and assembling the mini stationery holder.
I’d love to hear what you think about this project and if you will have a go at making one too. I will add the product links below too so you can see exactly what I used.


 Designer Series Paper")