Welcome to another Stamptastic Friend’s blog hop where the theme this month is our current favourite product(s). I have chosen to share a sneak peek of a Saleabration product with you. It is the Beautifully Penned designer series paper and I am using them for sending gratitude to those I am grateful to have in my life and the reasons why. These papers can be earnt for free on an order of £45 or more placed with me or your regular demonstrator between 3 August 2021 and 30 September 2021.
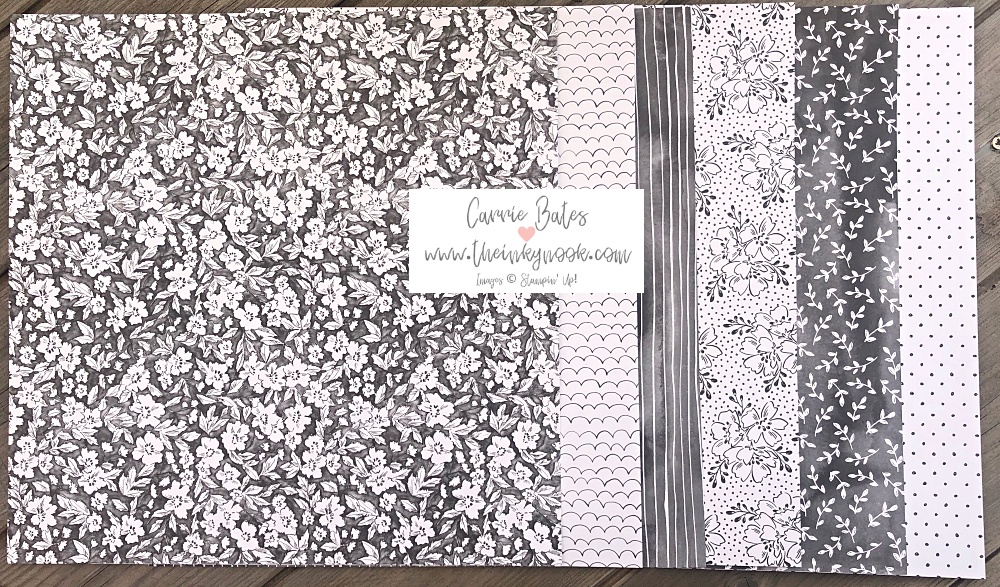
Why have I chosen the Beautifully Penned designer series papers?
Quite simply because the colouring of grey and white means you can use them for practically any papercrafting and jazz them up with coloured card bases, ribbon and embellishments. Their patterns are so delicate and I am already a big fan of the Hand Penned Suite with its floral design and pastel tones. So the papers beautifully complement this suite of products and means I can make even more beautiful projects with them.
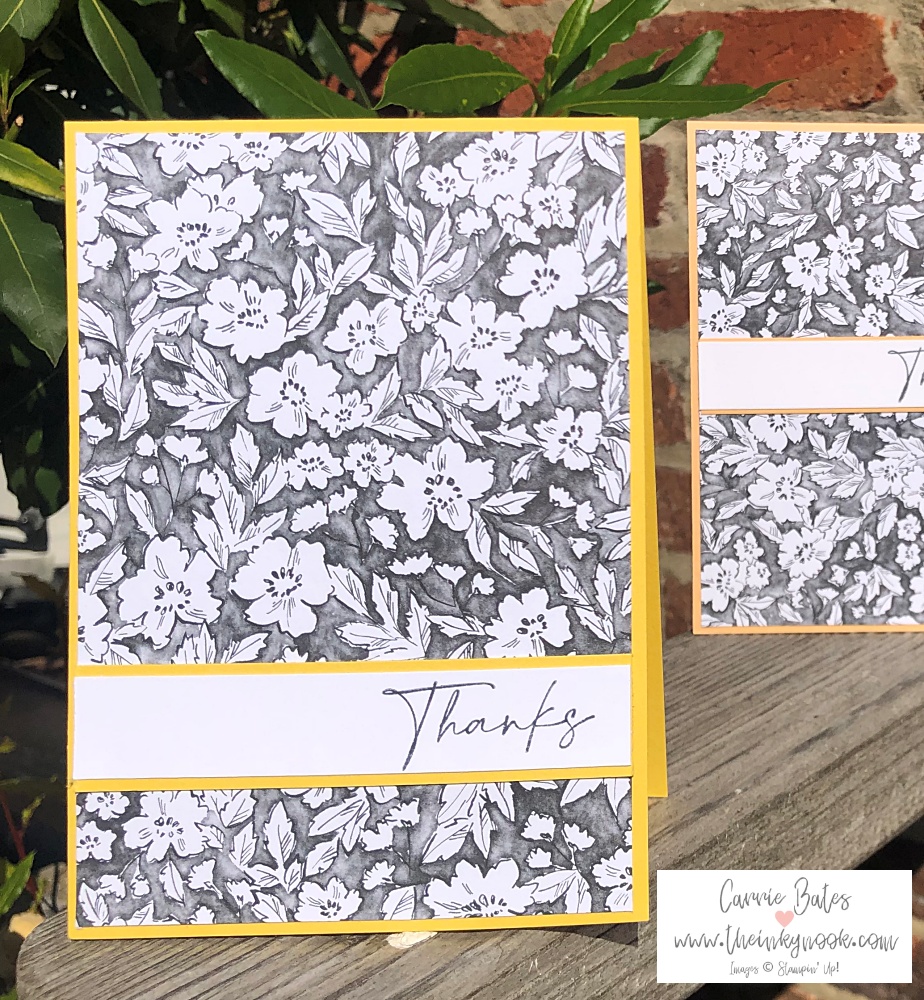
How to make the cards
These are super easy to make and you just need a card base measuring 10.5cm by 29.8cm scored at 14.9cm. Next cut your designer series paper to 10cm by 14.4cm this gives a little coloured border from the card base. To create the sentiment label cut a strip of white card and stamp the sentiment on in Memento Black ink. Follow this up with a strip of card the same colour as your card base and make it slightly wider than your sentiment strip.
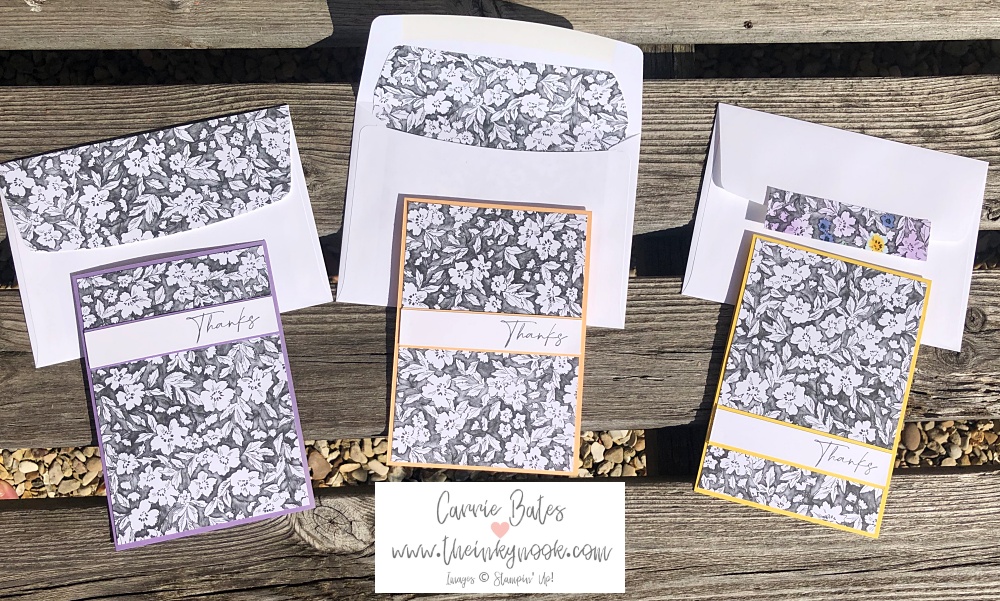
Pretty up your envelopes
You can also use your designer series paper on your envelopes which then complements the card hidden inside. Envelope 1 (left) has the back flap covered in designer series paper. This was created by taking a strip of designer paper and gluing to the flap then trimming off the excess. The central envelope has a liner created by just trimming down a piece of designer paper and gluing inside. Envelope 3 (right) just has a small strip of designer paper which I’ve coloured in with Stampin’ Blends along with a little blending from a brush. This one is especially good for using up any leftover scraps of paper.
The final piece
The final step was to make a floral band to hold the projects together in case I decide to gift them rather than send them individually. Take a larger strip of cardstock (mine is Highland Heather) and roughly wrap around the bundle. I have scored a 1cm section at either end to give a box like shape. Then have a little tab at the end to secure the front to the back.
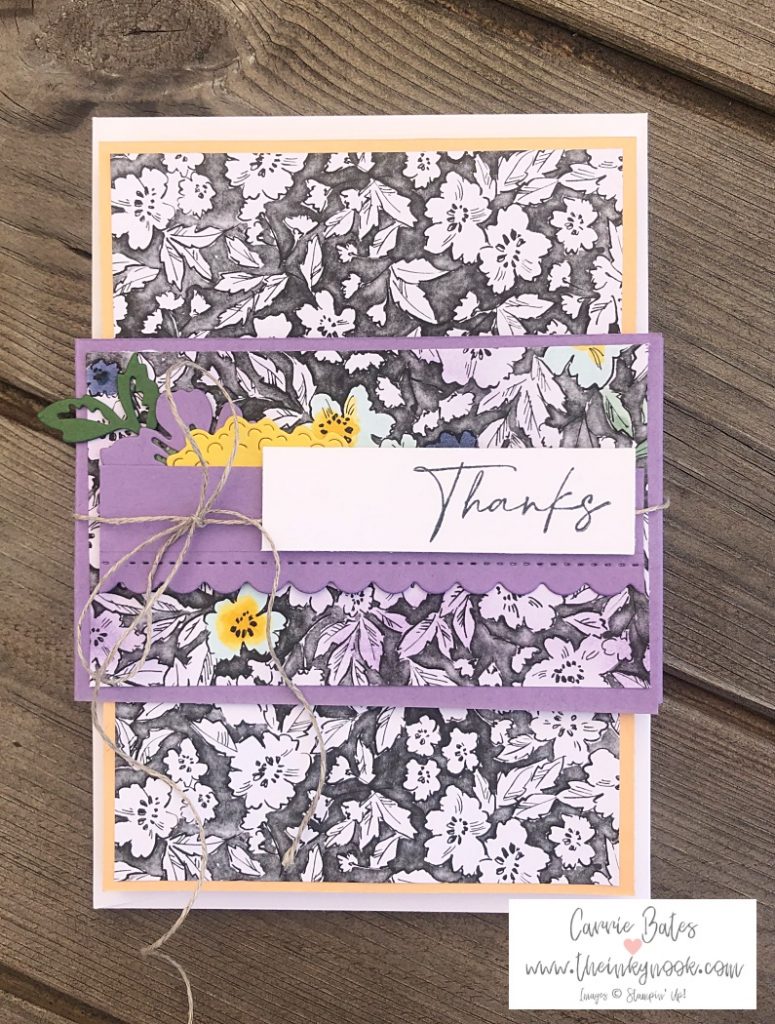
Next I added a section of the designer series paper and coloured in some parts with Stampin’ Blends. Some diecuts were added to frame the “Thanks” strip using the Penned Flowers dies and a little twine bow to finish off.
I hope I have inspired you today and let me know below who you might be sending gratitude to when you have made your own cards. Please do continue with the blog hop using the list below as my Stamptastic Friends will have some more gorgeous projects to share today !

PS I forgot to add I can’t add the designer series paper to the products list below until it is available to add to qualifying orders of £45 from 3rd August 2021. But if you join my team before then you can get it early !
Product List")