This month’s Stamptastic Friends theme is ‘nature’ so I’m sharing one Christmas card three ways with traditional greenery images. You may be starting the hop with me or joining from elsewhere on the blog list but I am hopeful we will be inspiring you to be creative very soon.
All three cards use a white card base measuring 14.9cm by 21cm scored at 10.5cm on the long side. This means you get two card bases from one sheet of A4 cardstock with no wasteage. The card layers (where used) measure 14.4cm by 10cm and the 4 small squares are 3.8cm by 3.8cm on each card.
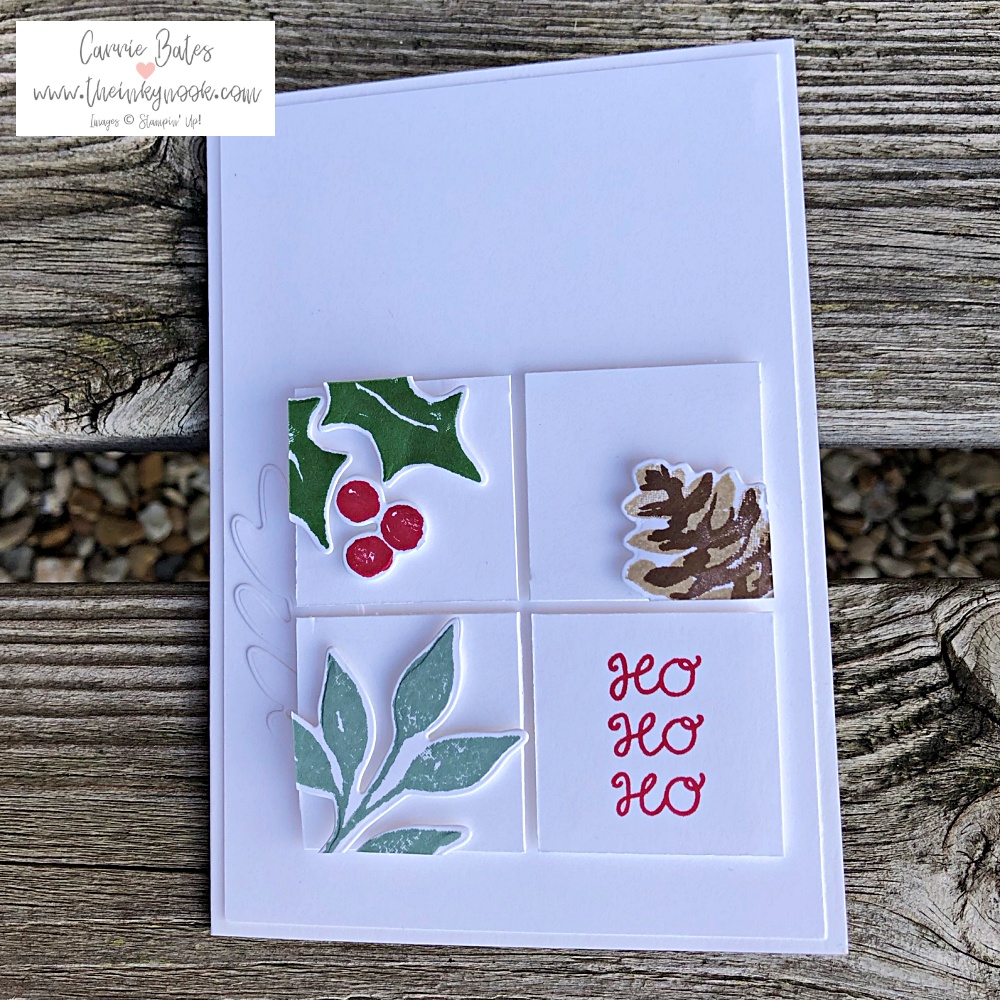
Simple card
This card is the starting design for my projects today . To begin stamp 3 of the squares with a foliage image from the Christmas Season stamp set and then 1 square with a greeting from the Little Delights stamp set. Next pop some dimensionals (foam pads) behind each square and position onto your card base. Mine is offset towards the bottom right hand side.

Design 2 – stepping up the simple card
For this card the overall layout is almost identical but this time the squares will sit on a separate white card layer. Also the images should be stamped on cardstock and then diecut with the Seasonal Labels dies. These diecut shapes are then fixed to the small squares with dimensionals. I’ve also die cut one of the leafy stems to sit just behind the two squares on the left.
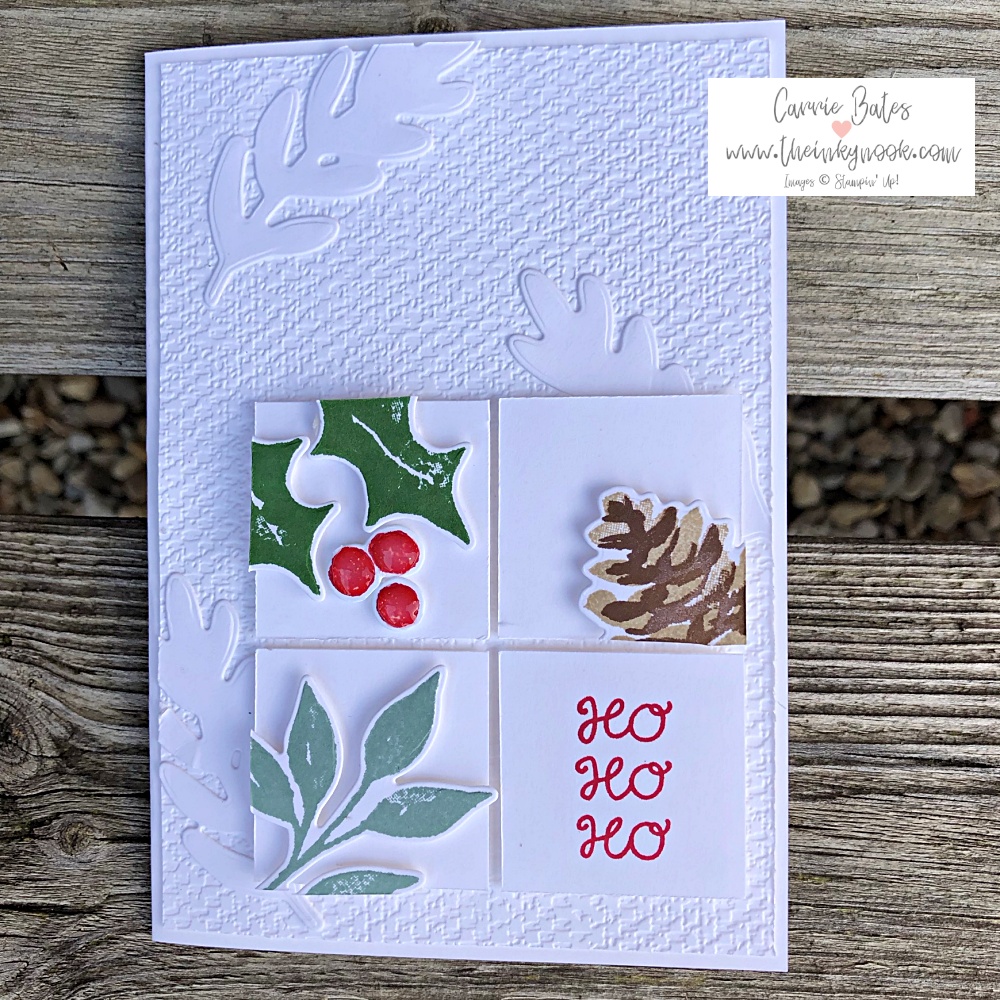
Final version of a Christmas card three ways
For the final version repeat the steps for the second card above with the following additional steps. Emboss the card layer and my choice was the Subtle Texture folder before gluing to the card base. Die cut more of the leafy stems and glue them to the card layer. Then add your mini squares as per the previous card.
So I hope you like seeing how the original card design can be transitioned into a more advanced card with a few simple changes. This card design could be replicated for birthdays, anniversaries and so on. Let me know what you think below in the comments. Now it is time for you to see what everyone else has made by navigating around the hop with blog list below.
Inky hugs,
Carrie x
Product List")


Fantastic card Carrie. Such a simple idea that can be a wow!
Glad you liked it Leighsa – I love to keep my makes simple with a bit of wow 🙂
All 3 cards are beautiful. I need to showcase cards this way!
Thanks Ginny – I think it’s useful to show my blog readers how they can go from quick and simple to something more elaborate 🙂