Welcome back to this month’s Stamptastic Friends blog hop where the theme is animals. We have an adorable cockapoo so I reached straight for the Pampered Pets stamp set form my stamp shelf. Join me today as I show you how to make folding card in a box.
Make your box
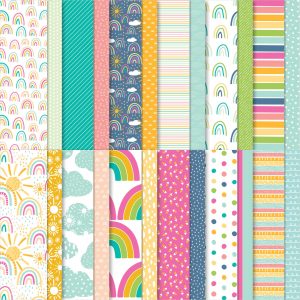
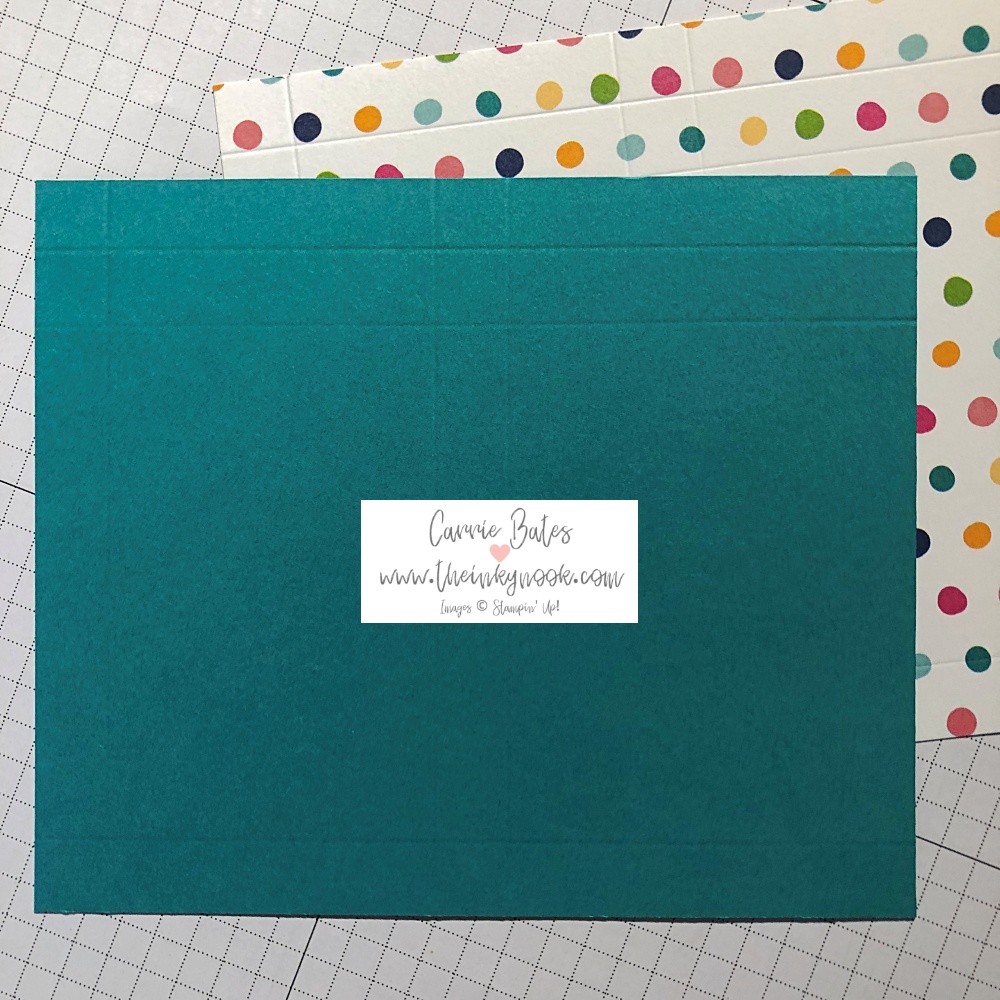
You will need a piece of designer series paper (DSP) measuring 6″ by 5″ and a piece of cardstock the same size. My choices today are the Sunshine & Rainbows DSP and Bermuda Bay cardstock. The DSP is one of the free products you can earn during Saleabration on an order of £45 or more.
Now you need to score each piece individually as follows: on the 6″ side score at 0.5″, 2.75″, 3.25″ and 5.5″. On the 5″ side score at 0.5″, 4″ and 4.5″. Then glue the two pieces together making sure your score lines match up and then you can bend and fold the score lines. The cardstock is needed to make a firm box base with the DSP for decoration.
You need to make the box flaps with a few cuts and snips so I thought it was easier to share a picture of the final template. Where the 4″ and 4.5″ folds are makes the box flap so make sure you start with these at the top when following the below template.
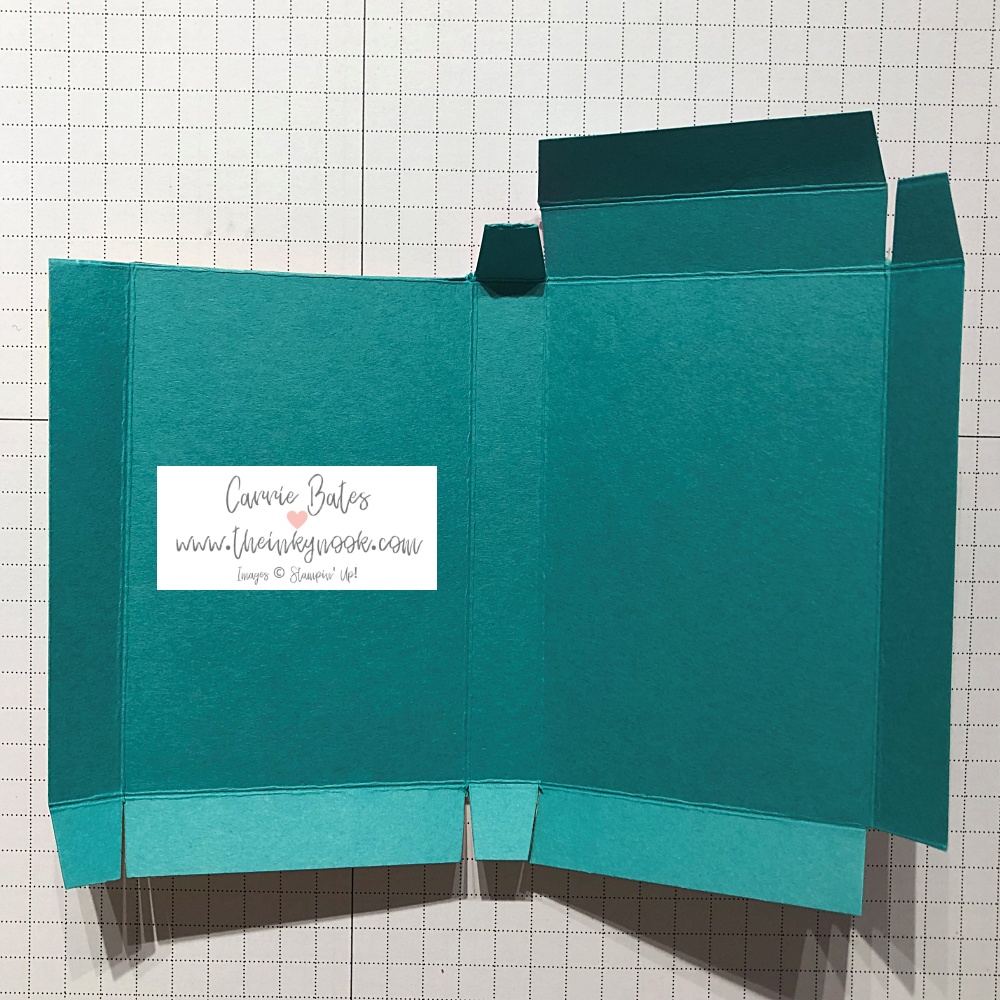
Now use some double sided tape to secure the box together and assemble your box. You can decorate further which I did by adding stamped images and some linen thread.
Make your folding card
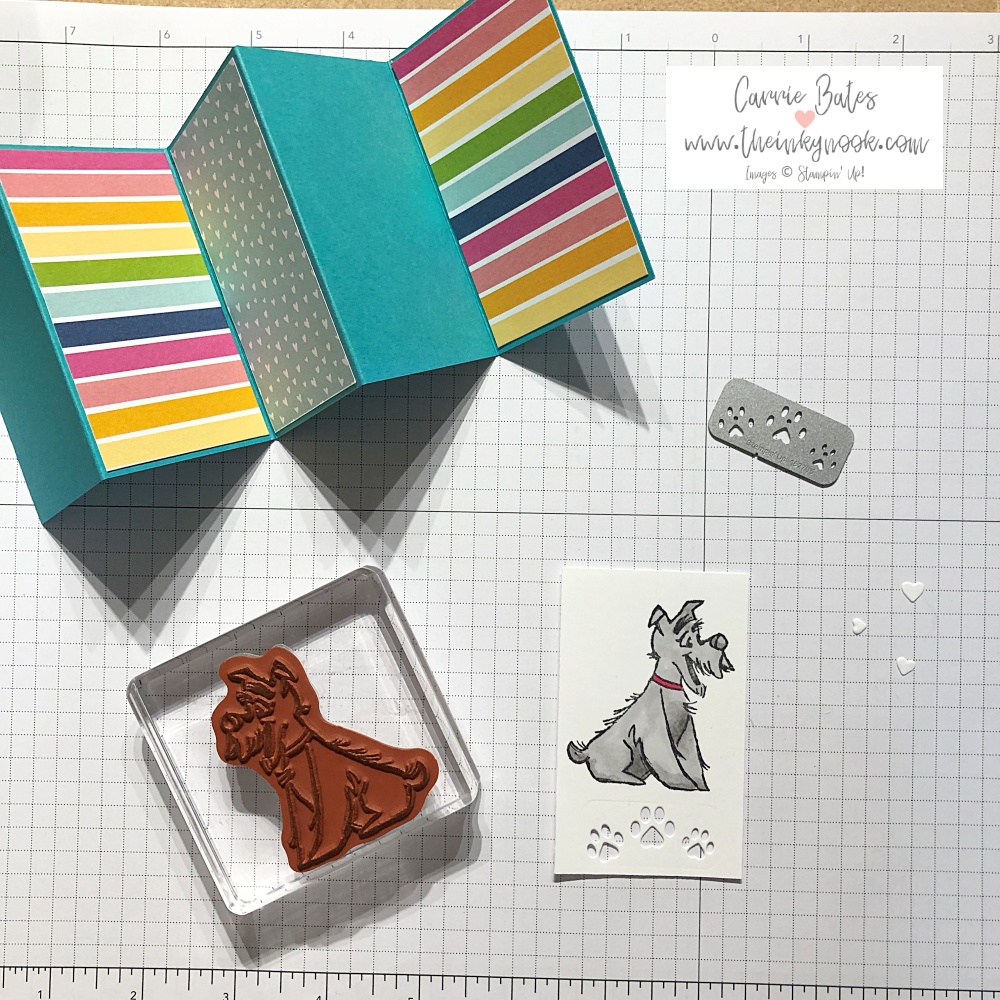
Choose your coloured cardstock (mine is Bermuda Bay) and cut to 10 5/8″ by 3 3/8″. Now you need to create the folds using either your paper trimmer or scoring board. Simple score along the long side at 4.25″ and 8.5″ and then flip over and score at 2 1/8″ and 6 3/8″. You could score all in one go but the flip creates the folds to make the mountain and valley sections. If you look at the image below you will see what I mean by mountain and valley folds.
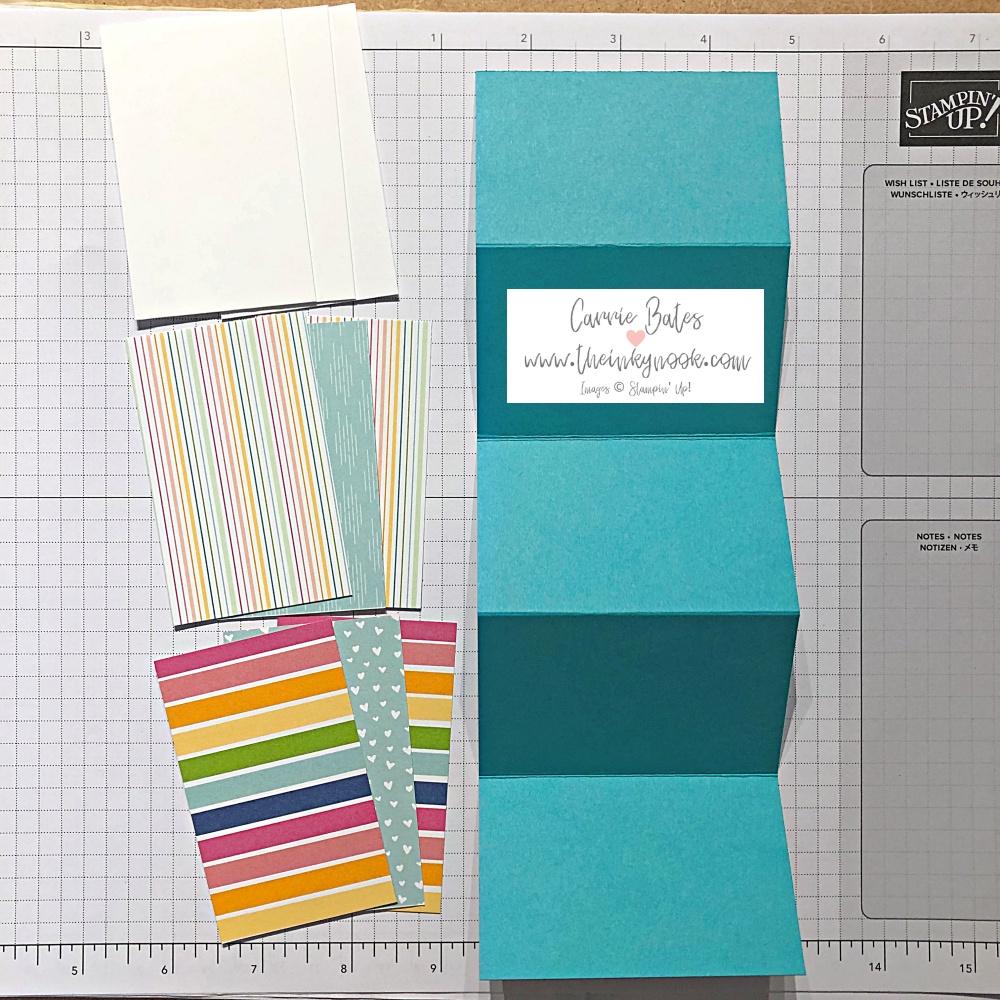
Now take some DSP and cardstock to make the mats/ layers to adhere to the folds. These mats should measure 3.25″ by 2″ and you will need 5 in total. My card uses 3 DSP mats and 2 white cardstock mats. I stamped my cardstock before gluing all the mats into place.
Finishing touches
As a finishing touch I did die cut the little paws underneath the dog and coloured the heart diecuts with before gluing into place. The dog was coloured in using Smoky Slate and Magenta Madness blends. I am so happy with how the card fits snuggly into the box.

Thank you so much for joining me today and please hop onto see what the other ladies have created for this theme. Feel free to tag me with #theinkynook if you have a go at my card in a box I’d love to see them.
Until next time.


 Designer Series Paper")


Fabulous card Carrie.
Thanks Leighsa – such a great theme I think I need more animal sets now.
Such a cute idea. I will have to try this!
Thanks so much Ginny – have fun getting creative with it when you try 🙂
Love your project thank you for sharing x
Thanks Gina – it’s not one to fit in a standard envelope but it’s different 🙂