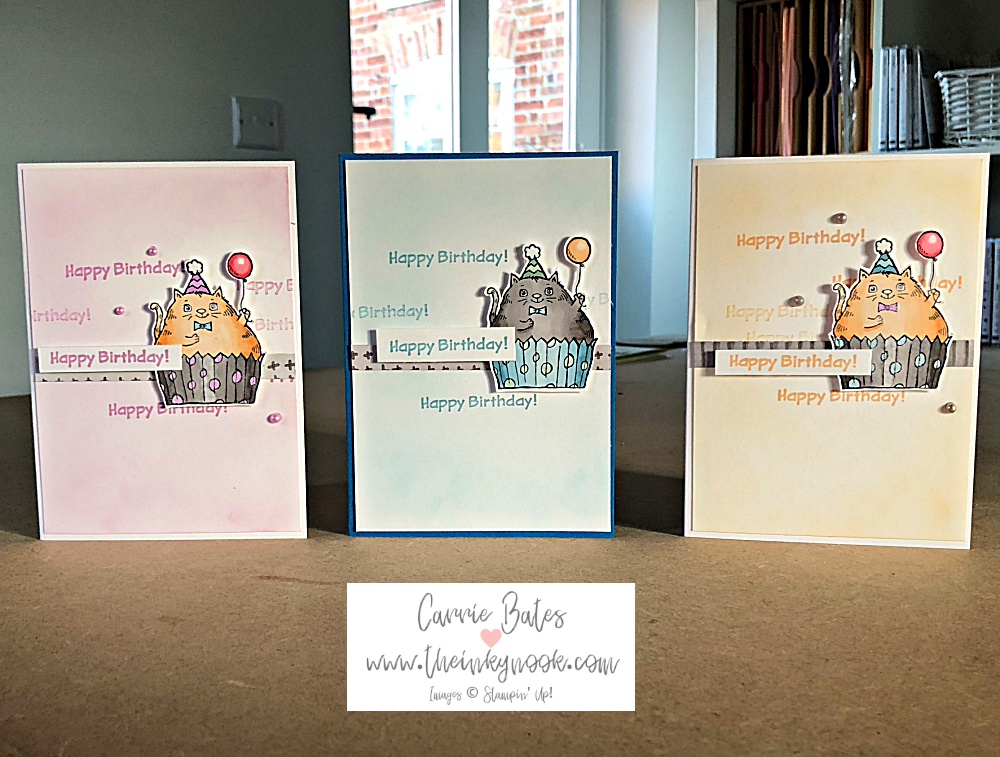
It’s been a steady Sunday here at The Inky Nook and I’ve been taking some time out to practise my colouring skills from a course I’m currently doing. Heather runs her Stampin’ Blends alcohol marker course twice a year and you can find out more by clicking on this link to the The Songbird Stamper. We are halfway through her Spring offering and the cat birthday card for my brother I’m sharing with you today uses some of the skills I’ve been learning.
Step 1 – kit list for your cat birthday card
You need some white cardstock (about 1 A4 sheet), cardstock for your base (coloured or white), memento black ink and some Stampin’ Blends! For the cat I used Smoky Slate, cupcake case Balmy Blue, cupcake spots/bowtie and hat Mint Macaron, the balloon is coloured in Pale Papaya. Further additional items: strip of designer series paper (approx 1cm x 10cm), blending brush and an ink pad in one of the Stampin’ Blends colours you’ve used. An optional extra would be some embellishments to just add an extra finishing touch.
Step 2 – card base and layers
Cut your card base out of your chosen cardstock measuring 14.9cm by 21cm and score down the middle at 10.5cm. You will need an outside and inside layer of white cardstock measuring 14.4cm by 10cm. For the greeting I stamped the greeting first and then cut the piece down to size.
Step 3 – time to stamp
Stamp the cat using memento black ink on some white cardstock and leave to dry. On one of the card layers stamp ‘happy birthday’ on and off randomly over the layer in your chosen ink pad colour. Once this is dry use a blending brush to softly colour the whole layer and pop to one side.
Step 4 – it’s all about the blends
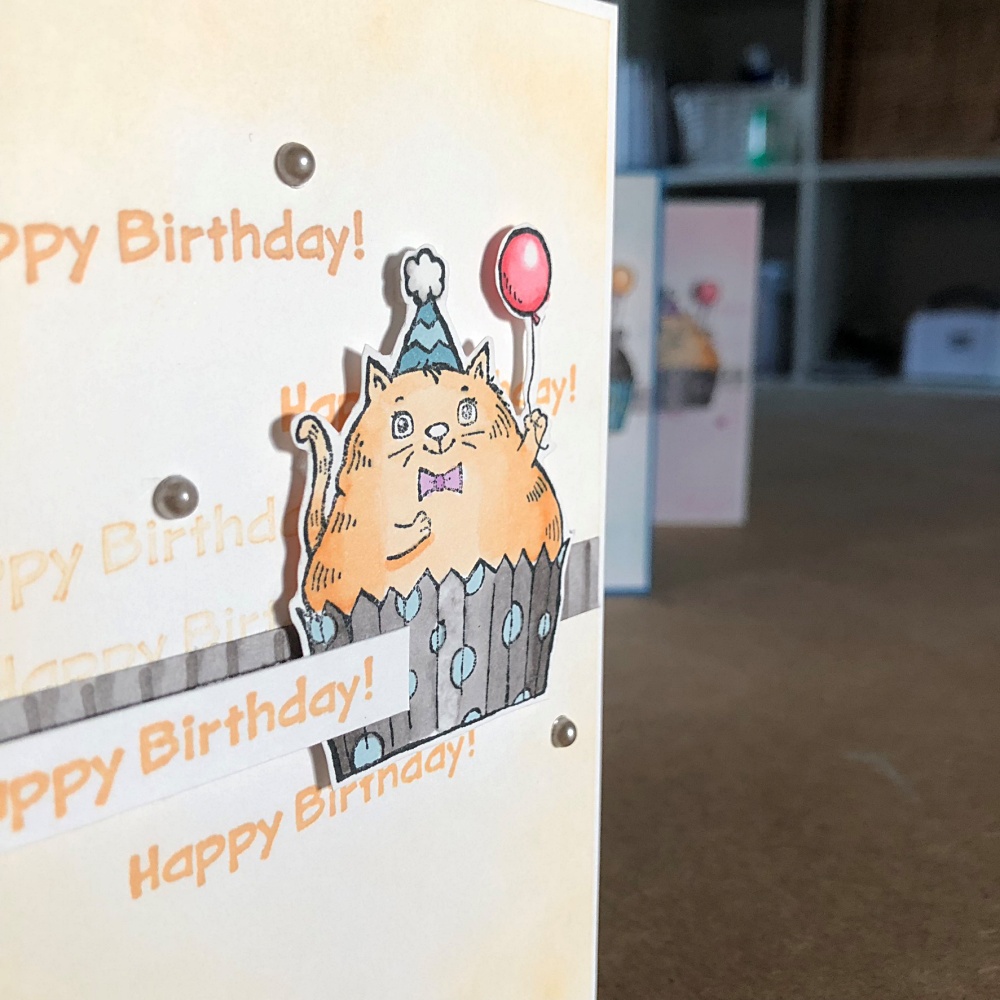
Now you put your colouring skills to the test using the Stampin’ Blends. If you are new to Blends then you can just colour normally without adding any shading. However if you are feeling brave, try and some shading to the outline side edges of the cupcake case and the cat. Once coloured in fussy cut the cat and balloon out and pop some dimensionals on the back ready to fix onto your card.
Step 5 – bringing the cat birthday card all together
Glue the layer to the card base, glue the designer series paper strip just under the halfway point and then place the cupacake cat on top. Stamp the greeting and secure to the card with dimensionals too. My final finishing touch was some gems to some sparkle, you could use the blends to colour in some pearls if you don’t have any gems.

There you have it, your very own cute cat birthday card !
Until next time, thanks for joining me today and make sure to send or tag me in your makes if you have a go @theinkynook.
Inky hugs,
Carrie x
Cat birthday card product list")