Hello there and welcome to this month’s Stamptastic Friends blog hop where our theme is fun fold cards. Now what I love about a fun fold is that they should be simple to make but look like an extra special card for the recipient. Also, this fun fold accordion card starts with a designer series paper base rather than cardstock. Yes, you’ve guessed it you can use up some of those gorgeous papers you’ve been stockpiling in your craft supplies.
Fun fold accordion card product list
You will need the following to make this card: one sheet designer series paper (DSP), one sheet of white cardstock, one sheet of coloured cardstock (I used black). Other useful items include: spare cardstock to stamp on, your chosen stamp set, your preferred adhesives and ink pads etc.
Basic measurements required
A piece of DSP measuring 12″ by 5.5″ (this requires scoring at 1.75″, 4.75″ and 7.75″ making sure you have the DSP facing the right way up before you start scoring if your patterns are directional)
3 pieces of coloured cardstock measuring 4.25″ by 2.75″
3 pieces of white cardstock measuring 4″ by 2.5″
How to assemble the card base
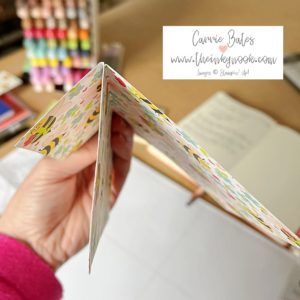
Fold the DSP strip along the score lines and then glue the 2 identical panels together so that you end up with a base looking like the below image.
Next steps to complete the card
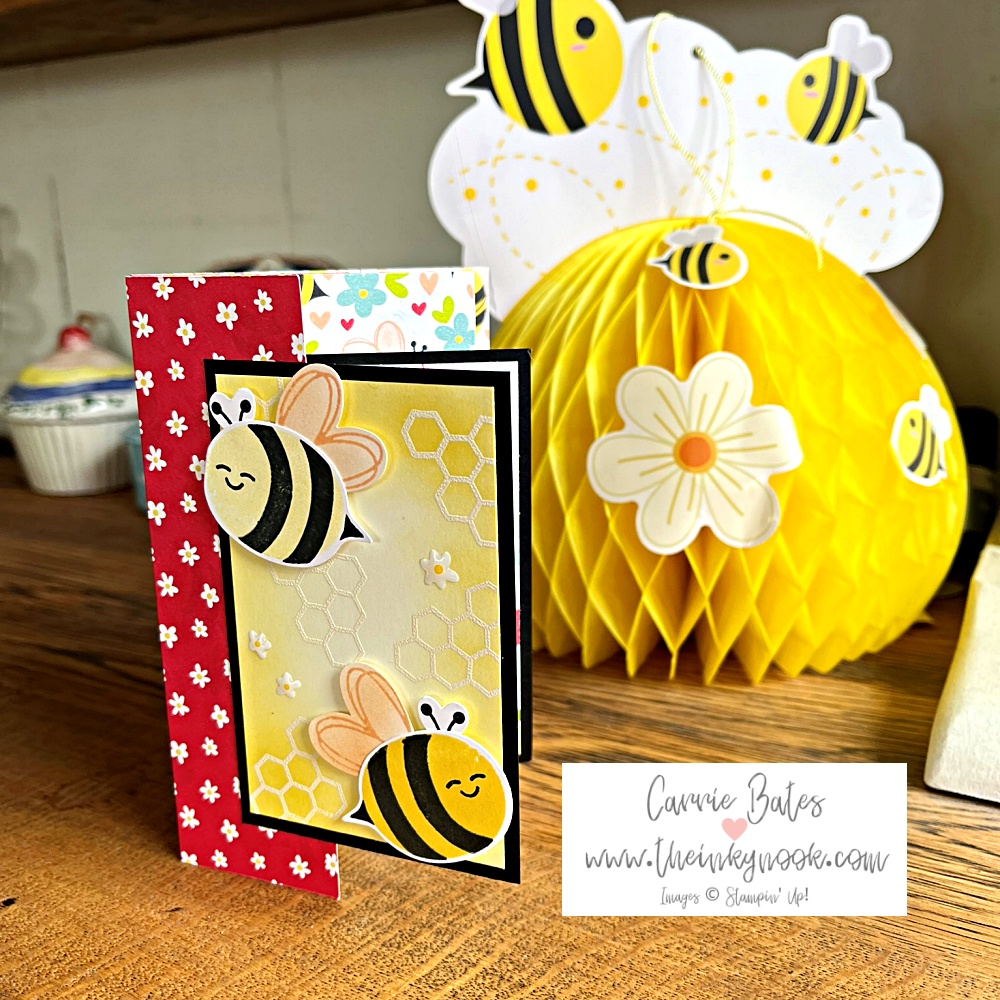
Take your 3 pieces of white cardstock and stamp, emboss, add die cuts to them. Basically decorate them in any way you like and then glue to their coloured cardstock frame. As the DSP I used was quite a busy design I chose black cardstock to ensure the white layers stood out from the card base.
Once you’ve got your frames in place line up the back layer roughly in the middle of the third fold and then stack the other 2 layers on top of their layers.
The idea being that when they are all glued to their relevant layer you will only see the top layer when all folded over.
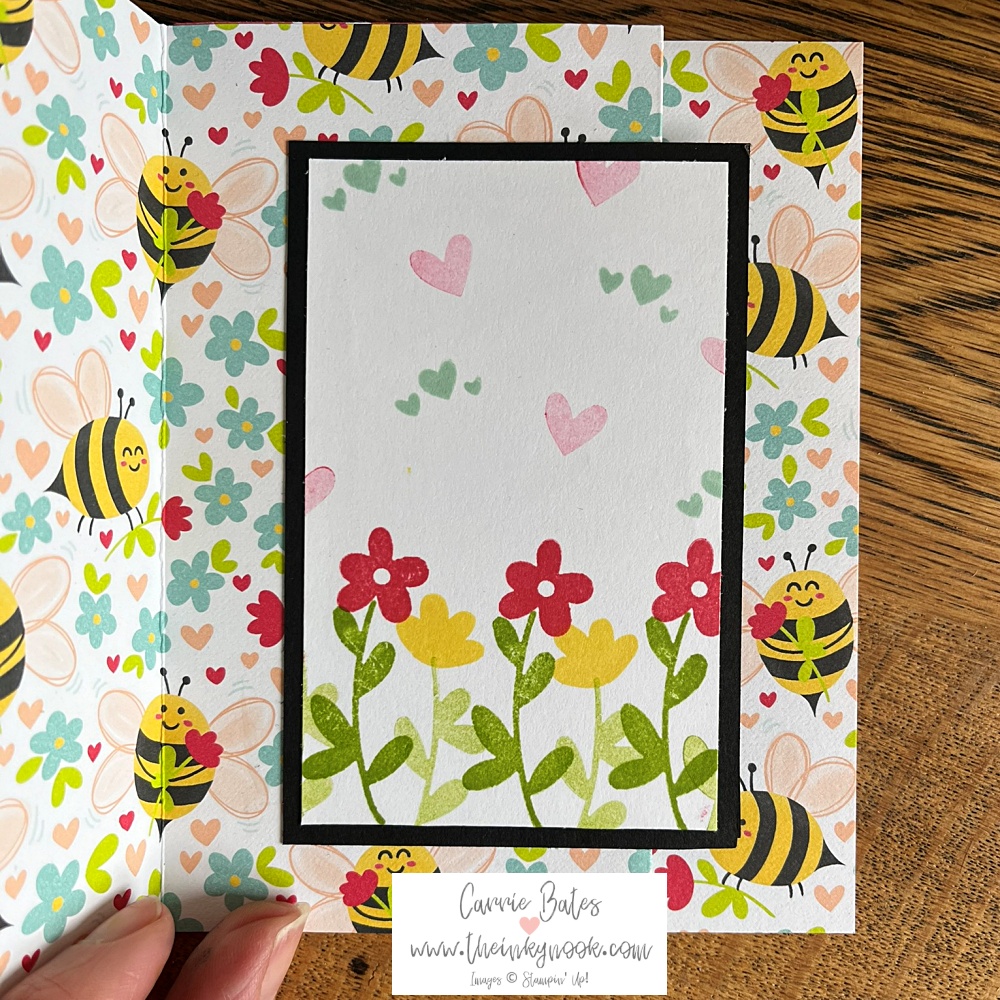
Glue the top layer into position and then repeat on the middle and third layers ensuring that they all stack nicely behind themselves.
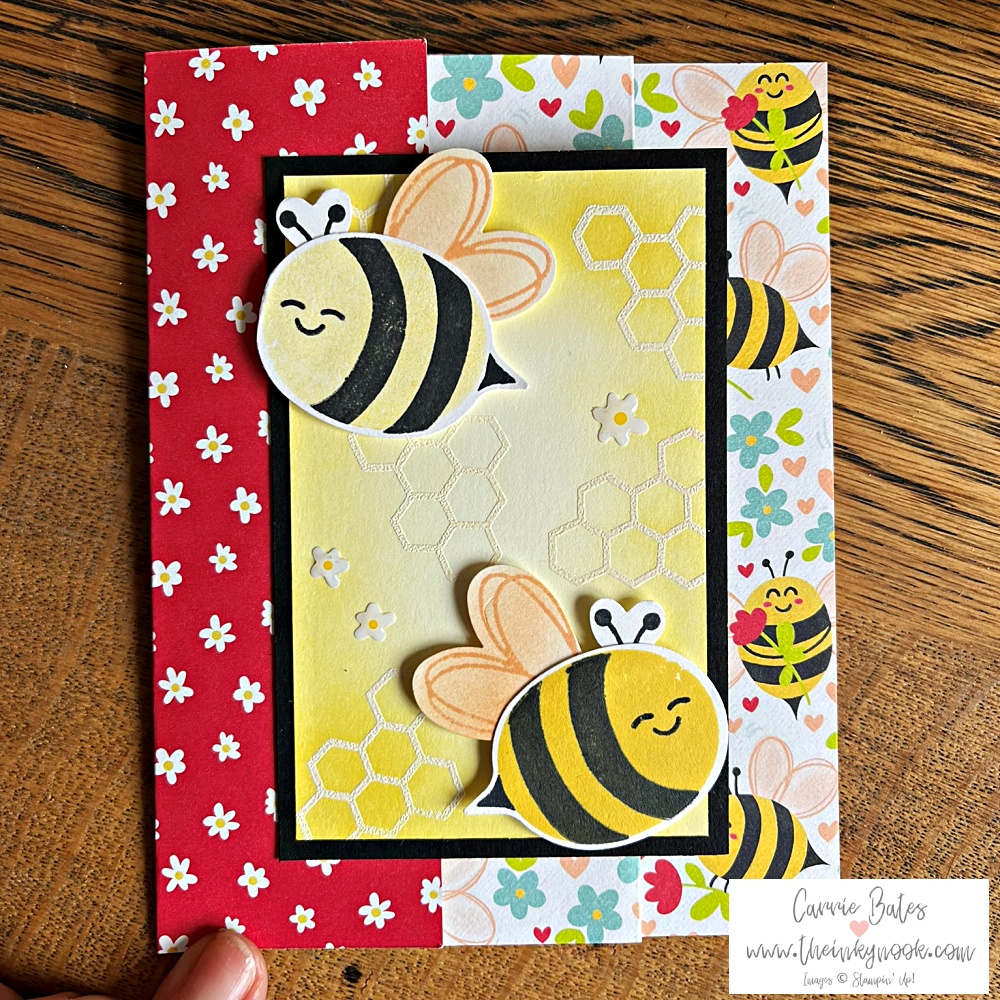
Just in case you were wondering how I created the background on my top layer I thought I’d quickly share how I did it. I heat embossed with white powder on the honeycomb stamp. Then I used a blending brush and the daffodil delight ink pad to build up the background colouring.
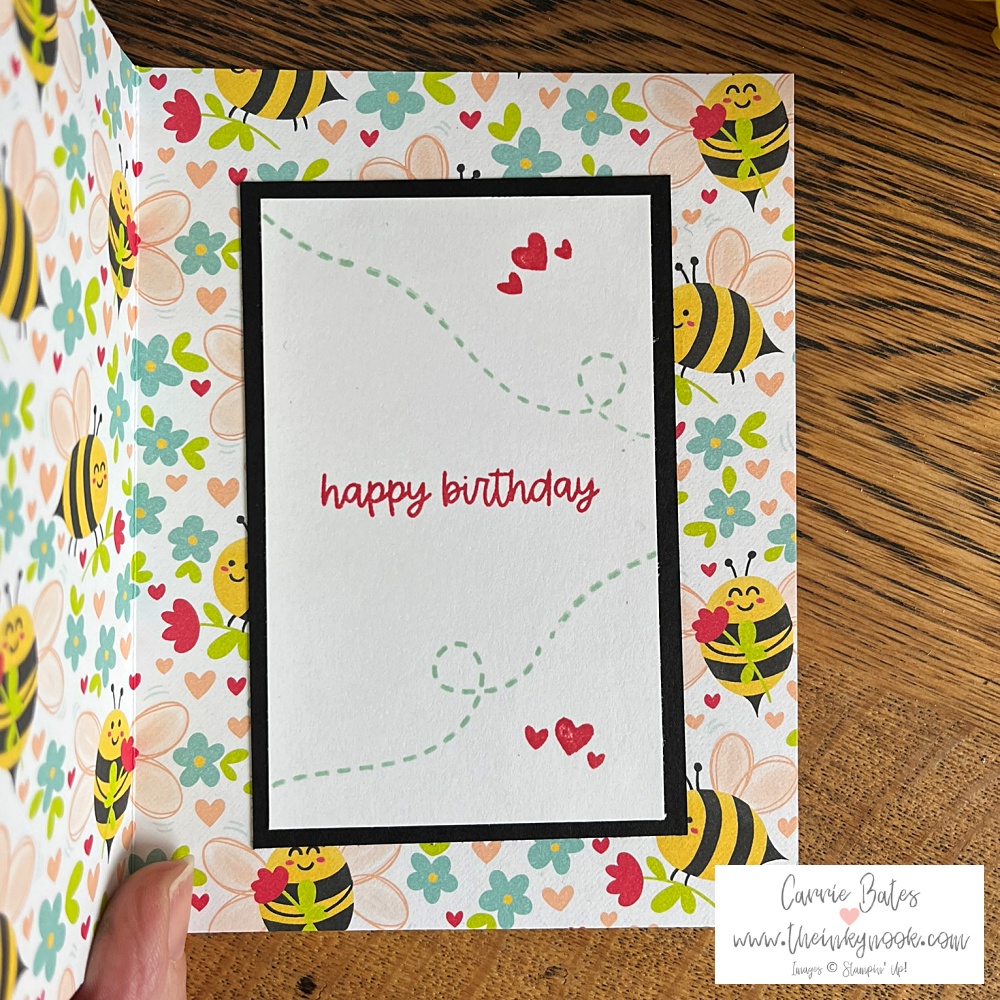
There you have your finished fun fold accordion card ready to send a friend or family member.
Let me know what you think in the comments below and do hop on and see what the next design team member has chosen for their fun fold project.
Inky hugs, Carrie x
Product List Designer Series Paper")
")


Beautiful card! Love this suite, will be trying it. x
Thanks Leighsa – so glad this stamp set and dies are carrying over as they are so cute xx